
|
Do it yourself
| |||
| ||||


Saab 9 3 - Video tutorial
Model: Saab 9 3
MK 2
- Years 2002-2014 Disconnect the control unit connector. Gently remove the plastic cover protecting the motor by simply lifting it upwards. In order not to confuse the cables, disconnect only the first spark plug. Using a spanner size 10, unscrew the sealing nut of the first spark plug and slide the pipette upwards. At the bottom of the cockpit is the first candle. Before proceeding with disassembly, carefully clean the pits with compressed air to eliminate any dirt that could fall into the combustion chamber. Using the special spark plug wrench, which has a rubber hooking device, gently insert it on the spark plug head and unscrew it. Be careful not to let foreign bodies fall into the pit. Replace the spark plug with one of the same model by carefully inserting it into the well, again using the special wrench and turning it gently checking that it is screwed.
Posted on 18 July 2023 by ScegliAuto
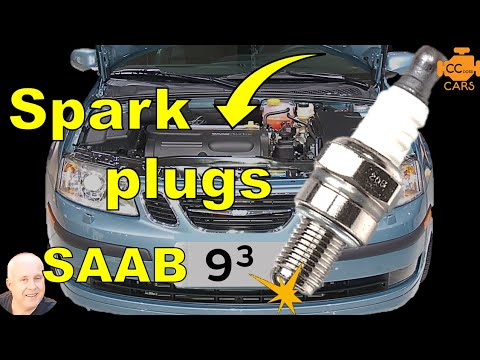 How do you replace the spark plugs on the Saab Nine-Three?
Saab 9 3 (2002-2014 / MK 2) To be able to replace the spark plugs on the Saab 9-3, you have to open the hood and remove the plastic cover from the top of the engine. With a torx 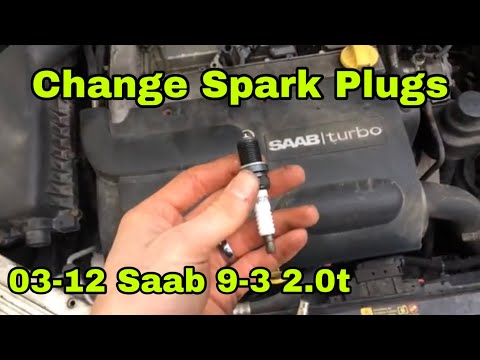 How to replace the spark plugs on the Saab 9 3
Saab 9 3 (2002-2014 / MK 2) Unhook the hood from the special lever and lift it, now it will be necessary to have access to the part under the upper engine cover, then remove it 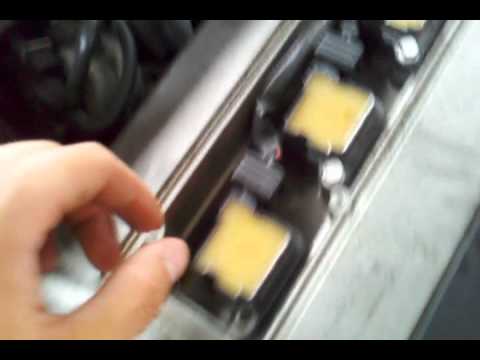 Spark plug replacement instructions
Saab 9 3 (2002-2014 / MK 2) After opening the front engine hood, we make sure that it stays open safely. It is advisable to carry out this operation with the engine cold to avoi Other guides that may interest you
|
How do I replace the Land Rover Evoque auxiliary battery?
In order to replace the auxiliary battery of the Land Rover Evoque, it is necessary to go inside the passenger compartment and remove the panel which is positioned immediately under the glovebox. Once the screws that secure this panel have been loosened, it will be possible to access the components located in its rear part, including the auxiliary battery. The latter must be disconnected from its cables and the fixing screws must be loosened. The battery can then be replaced with a new one and the panel can be fixed again with its screws. by ScegliAuto More videos
|
|
For advertising on this site Write to info@scegliauto.com
ScegliAuto is not responsible for any inaccuracy of the data in the lists. To report any inaccuracy or your business (if you own the business in question), please write to info@scegliauto.com
Number of seconds to generate the page: 0.050
(c) ScegliAuto 2024 - info@scegliauto.com - Privacy Policy VAT number: IT01247470535 |