
|
Do it yourself
| |||
| ||||


Skoda Octavia - Video tutorial
Model: Skoda Octavia
MK 2, 1Z
- Years 2004-2012 Open the trunk by lifting the tailgate and remove the central screw cover, so as to be able to access the bolt underneath. Now that you have done this, you can remove the internal tailgate panel by levering your hands over the entire gap around it. At this point unscrew the other accessible bolts well shown in the video, then remove the other internal cover, the one on the lower part and then above the third central stop. Unscrew the two bolts that secure the central stop from behind and then push it a little towards the outside, so as to be able to extract it once the tailgate is lowered.
Posted on 12 February 2024 by ScegliAuto
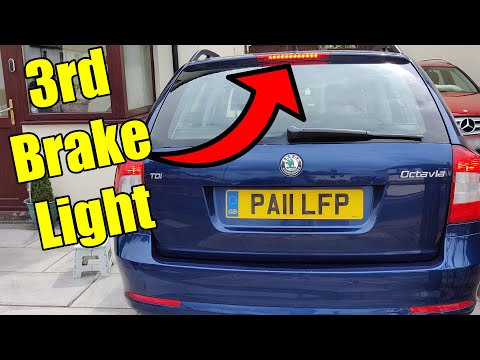 Disassembly of the third stop and replacement of the lamps on the Skoda Octavia MK2
Skoda Octavia (2004-2012 / MK 2, 1Z) In today's video tutorial we will see how to remove and replace the third stop and its bulbs on the second series Skoda Octavia, in the station wagon 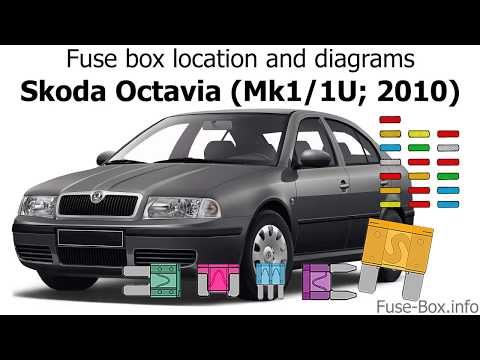 What is the fuse diagram for the Skoda Octavia?
Skoda Octavia (2004-2012 / MK 2, 1Z) In this video, we can see the fuse diagrams of the Skoda Octavia, which are the first elements to check if one or more devices suddenly stop working.  Skoda Octavia headlight bulb replacement
Skoda Octavia (1996-2004 / 1U, MK 1) In this video we will see how to replace the bulb of the first generation Skoda Octavia. To do this, first of all we open the engine hood of our car |
How to adjust the clock of the Citroen C3 2010
This video shows the procedure for adjusting the time and date on the car model described above. On the car's control panel, we first find the Menu key and immediately next to the Ok key, with directional arrows around it, i.e. up, down, right, left. To access the aforementioned adjustment, simply click Menu until we read the word Adjustment on the display, located in the center of the dashboard. To enter this section, click Ok and set the minutes and then the hours with the arrow keys. The same operation, if desired, can be carried out for the day, the month and the year. by ScegliAuto More videos
|
|
For advertising on this site Write to info@scegliauto.com
ScegliAuto is not responsible for any inaccuracy of the data in the lists. To report any inaccuracy or your business (if you own the business in question), please write to info@scegliauto.com
Number of seconds to generate the page: 0.019
(c) ScegliAuto 2024 - info@scegliauto.com - Privacy Policy VAT number: IT01247470535 |