
|
Do it yourself
| |||
| ||||


How to Open the Front Bonnet Panel of the Smart Fortwo
Model: Smart Smart
451
- Years 2007-2015
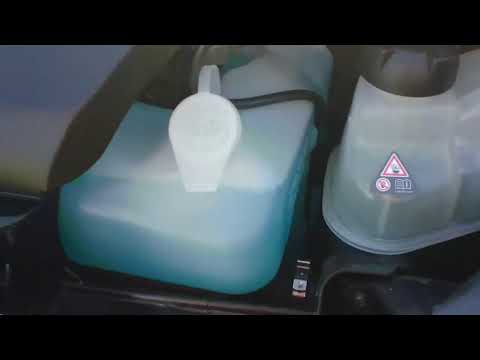
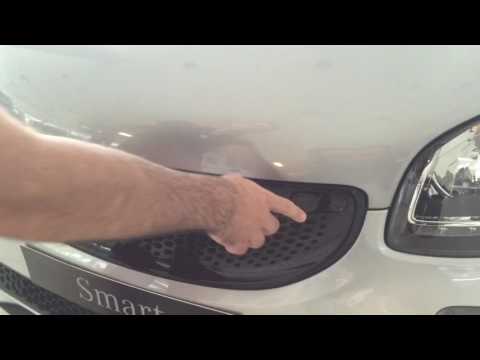
How to open the front bonnet panel of the Smart Fortwo for maintenance? In this video, see how to proceed. Open the plastic levers located at the sides of the front grille. Once the catches at the front are released, push the bonnet panel down with your hands, then detach it as shown in the video. Once the piece is removed, perform maintenance on your car. To proceed with reassembly: hold the plastic cover at the front of the car with your hands and then slide it upwards. Finally, close the front bonnet levers with your hands.
Updated on 13 March 2026 by ScegliAuto
Video tutorial
Related tutorials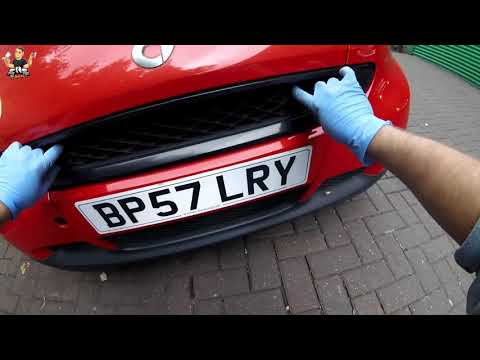
Smart
(1998-2007 /
450)
In this video tutorial we will see the instructions to open the front hood on a Smart Fortwo 450 and 451, in simple and quick steps. To open the fron…
Smart
(2007-2015 /
451)
Before we can start, we will have to get out of the cockpit of our Smart ForTwo, and then, we will have to head towards the front of the car. So let'…
Smart
(2014-2022 /
453)
.. How to open the front bonnet panel of the Smart Fortwo for maintenance and top-ups? In this video, the.. …
Other guides you may be interested in
|
How to Remove the Indicator Light from the External Mirror of a Jeep Renegade
How to remove the indicator light from the external mirror of a Jeep Renegade? Follow these steps: use a plastic or rubber lever to pry between the edge of the mirror frame and the mirror glass. Pry until the glass separates from the mirror; this is a delicate operation as the glass or the mirror itself may break. Once the mirror is removed, disconnect the power connector for the glass and press on the locking clips to detach the mirror cover. Remove the indicator from the mirror and replace the bulbs. by ScegliAuto More videos
|

|
For advertising on this site Write to info@scegliauto.com
ScegliAuto is not responsible for any inaccuracy of the data in the lists. To report any inaccuracy or your business (if you own the business in question), please write to info@scegliauto.com
Number of seconds to generate the page: 0.055
(c) ScegliAuto 2026 - info@scegliauto.com - Privacy policy VAT number: IT01247470535 |