
|
Do it yourself
| |||
| ||||


Model: Suzuki Sv 650
To change the coils on the Suzuki SV 650, open the compartment that houses the battery and remove the fairing. Under the frame, you will find the ignition coil. Access it from the right side, above the exhaust manifold, from the inner side. For a good job, use a screwdriver like the one shown in the video. Be careful when removing the coils regarding the colour of the white and black wires leading to an exhaust ring. The white wire connects to a flat connector on the coil. On the other side, there is a blue and white wire. Now that the coils are removed, measure their resistance with a voltmeter. The YouTuber did not replace them but measured their efficiency. Both were fine, so he repositioned them. If you wish to replace them, you can get a pair for £20.00 on Amazon. Now, simply refit them, paying attention to the wire colours: white/black for the left coil, white/blue for the right coil. Secure them with zip ties to the frame, reconnect the plugs, and test the ignition of the bike before refitting the fairing. If everything is in order, you can finish the job.
Updated on 29 May 2026 by ScegliAuto
Video tutorial
Related tutorials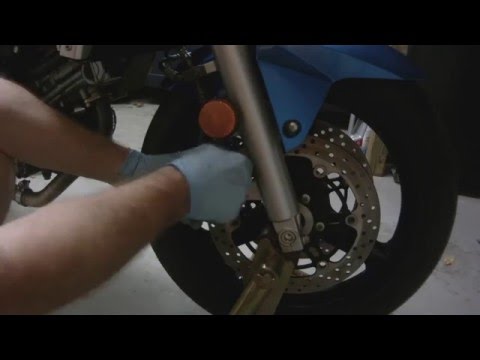
Sv 650
In this video tutorial, we will see the instructions that will allow us to remove and replace the front wheel of the Suzuki SV 650 in simple and quic…
Sv 650
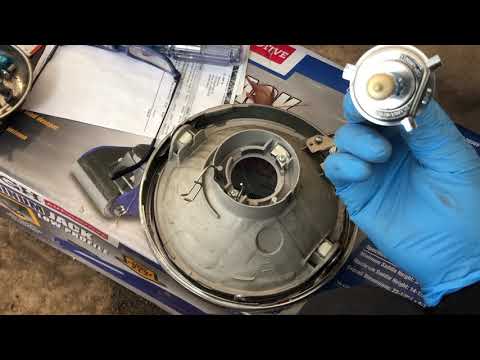
To replace the headlamp bulb on a Suzuki SV 650, loosen the screws securing the headlamp to its housing: these screws are located at the bottom and s…
Sv 650
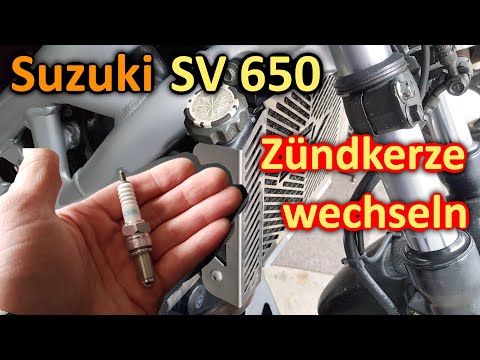
To replace the spark plug on a Suzuki SV 650, disconnect the coil located at the top of the engine block: the coil can be found immediately behind th…
|
How do you adjust the headlights of the Kymco Xciting S 400i?
In order to adjust the headlights of the Kymco Xciting S 400i, you need to completely remove the panel that is located under the front headlight and on the top of the front fork. Once this panel has been removed, you will be able to locate the bolts underneath that allow you to adjust the angle of the headlight. By tightening this bolt, you will notice that the beam of light from the headlight will rise; conversely, by loosening the bolt, you will notice that the beam will lower. Once the adjustment is complete, you can reinsert the panel. by ScegliAuto More videos
|
|
For advertising on this site Write to info@scegliauto.com
ScegliAuto is not responsible for any inaccuracy of the data in the lists. To report any inaccuracy or your business (if you own the business in question), please write to info@scegliauto.com
Number of seconds to generate the page: 0.007
(c) ScegliAuto 2026 - info@scegliauto.com - Privacy policy VAT number: IT01247470535 |
