
|
Do it yourself
| |||
| ||||


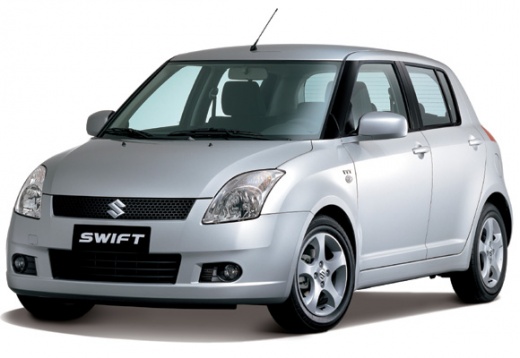
How to Replace the Interior Light Bulb of the Suzuki Swift
Model: Suzuki Swift
MK 4, Rs41
- Years 2004-2010
Below are the steps that will allow you to remove and replace the interior light bulb of the Suzuki Swift. First, get inside the vehicle and begin by removing the light fitting, levering at the sides with something thin and pointed; then remove the bulb holder and disconnect the electrical connector at the back, as shown in the video. At this point, remove and replace the bulb with a new one of the correct type and fitting; check its operation and reassemble the light fitting!
Updated on 14 July 2026 by ScegliAuto
Video tutorial
Related tutorials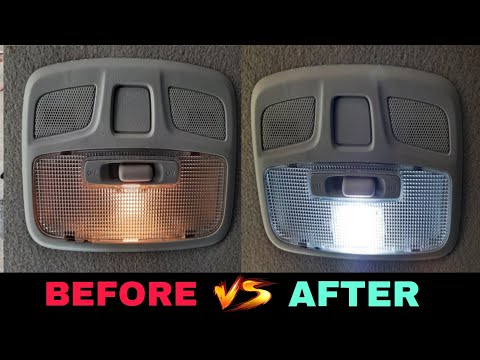
Suzuki Swift
(2017-2024 /
MK 6, A2L)
Shortly, we will see the steps that will allow us to disassemble and replace the interior light fixture of the Suzuki Swift. First, we get inside the…
Suzuki Swift
(2004-2010 /
MK 4, Rs41)
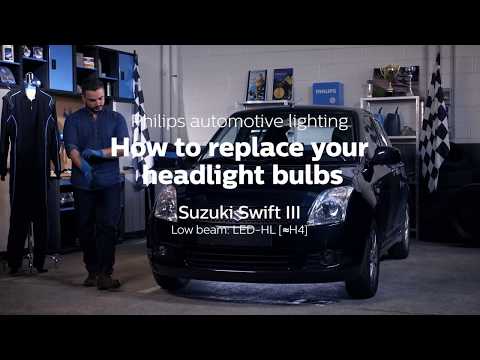
To replace the front headlamp bulb on a Suzuki Swift, open the bonnet to access the components in the engine bay. Locate the protective cover of the …
Suzuki Swift
(2004-2010 /
MK 4, Rs41)
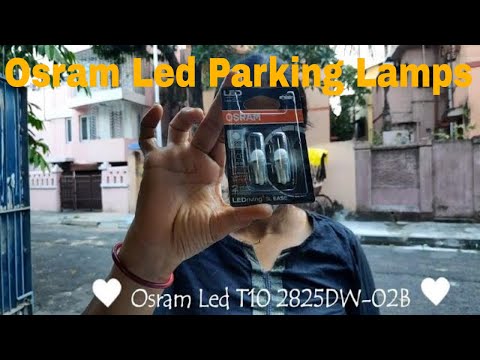
This guide shows how to replace the parking light bulb on the Suzuki Swift Mk4. Replacing the position light bulbs is a very simple task. First, open…
Other guides you may be interested in
|
How to Reset the Tyre Pressure Warning Light on the Hyundai Tucson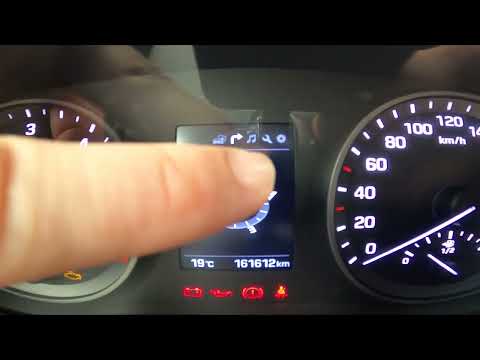
Today, we will discover the instructions that will allow you to reset the tyre pressure warning light (TPMS) on the Hyundai Tucson; before performing the reset, ensure that all four tyres are at the correct operating pressure. Then, get in the vehicle and start the ignition; next, navigate to the onboard computer settings using the controls on the steering wheel until you reach the tyre pressure monitoring section, as shown in the video. At this point, confirm and execute the reset of the TPMS warning light! by ScegliAuto More videos
|
|
For advertising on this site Write to info@scegliauto.com
ScegliAuto is not responsible for any inaccuracy of the data in the lists. To report any inaccuracy or your business (if you own the business in question), please write to info@scegliauto.com
Number of seconds to generate the page: 0.775
(c) ScegliAuto 2026 - info@scegliauto.com - Privacy policy VAT number: IT01247470535 |
