
|
Do it yourself
| |||
| ||||


Replacing the Rear Headlamp Bulb of the Suzuki Swift
Model: Suzuki Swift
Rs41, AZG, MK 5
- Years 2010-2017
If one of the bulbs in the rear headlamp of the Suzuki Swift is burnt out, for safety, you must replace it as soon as possible. First, open the boot lid and remove the two screws along the drip tray that secure the headlamp. Using a screwdriver, preferably plastic to avoid scratching the bodywork, release the headlamp by working on the outer side. At this point, you have access to the back of the headlamp where the protective caps for the various bulbs are located. Once removed, disconnect the electrical connection and replace the burnt bulb.
Updated on 14 July 2026 by ScegliAuto
Video tutorial
Related tutorials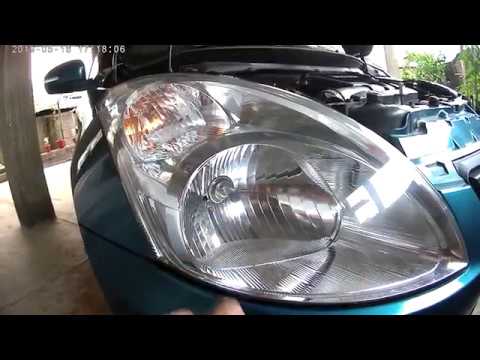
Suzuki Swift
(2010-2017 /
Rs41, AZG, MK 5)
Want to change the front headlight bulbs on a Suzuki Swift but don't know how? Here's how to proceed. Open the bonnet by pulling the lever located at…
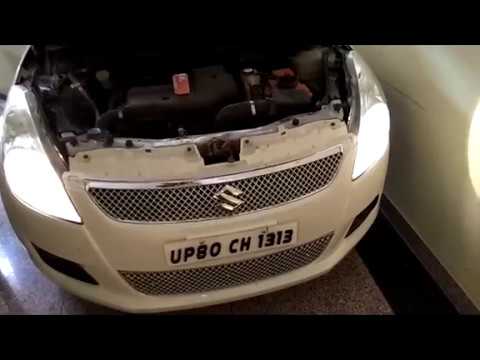
Suzuki Swift
(2010-2017 /
Rs41, AZG, MK 5)
Want to change the headlight bulbs on a Suzuki Swift and don’t know how to proceed? Let’s see how to do it in this guide. Open the bonnet by pulling …
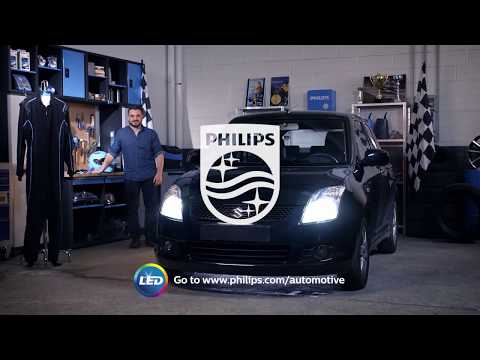
Suzuki Swift
(2004-2010 /
MK 4, Rs41)
Learn how to replace the bulbs located in the front headlamp of a Suzuki Swift. Open the front bonnet by pulling the lever located at the bottom righ…
Other guides you may be interested in
|
How to replace the horn on a Renault Duster - Dacia Duster
Today's main instructions will show you the procedure for removing and replacing the horn or sound signal on the Renault Duster, as well as the Dacia Duster. First, open the bonnet of the vehicle and start removing the front bumper by unscrewing all the fixing screws; you will find the horn right in front of the radiator, as shown in the video. At this point, disconnect the electrical connector and unscrew the bracket screw to remove and replace the horn with the new one; finally, reassemble the front bumper! by ScegliAuto More videos
|
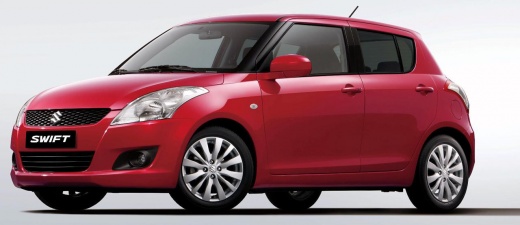
|
For advertising on this site Write to info@scegliauto.com
ScegliAuto is not responsible for any inaccuracy of the data in the lists. To report any inaccuracy or your business (if you own the business in question), please write to info@scegliauto.com
Number of seconds to generate the page: 0.060
(c) ScegliAuto 2026 - info@scegliauto.com - Privacy policy VAT number: IT01247470535 |
