
|
Do it yourself
| |||
| ||||


Sym Voyager Gts 125 - Video guides Sym Voyager Gts 125 How do you disassemble the engine of the Sym Voyager GTS 125? To disassemble the engine of the Sym Voyager GTS 125, you need to loosen the screws that secure the block to its housing, which is located at the center of the …Read all… Posted on 8 December 2025 by ScegliAuto  Sym Voyager Gts 125 How to Replace the Rear Tyre on a SYM Voyager GTS 125 In this brief guide, you will find instructions to remove and replace the rear tyre on the SYM Voyager GTS 125 scooter. First, place the scooter on the centre …Read all… Posted on 4 October 2026 by ScegliAuto 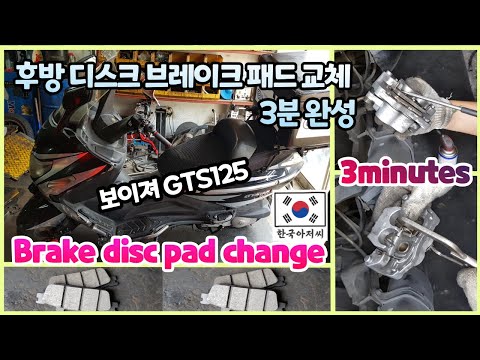 Sym Voyager Gts 125 How to replace the rear brake pads on the Sym Voyager GTS 125? To replace the rear brake pads on the Sym Voyager GTS 125, loosen the screws that secure the caliper to the corresponding disc, allowing you to completely …Read all… Posted on 14 September 2026 by ScegliAuto  Sym Voyager Gts 125 How to Replace the Stator on the Sym Voyager GTS 125 In this video tutorial, you will learn how to remove and replace the electrical stator of the Sym Voyager GTS 125 scooter. First, place the scooter on the …Read all… Posted on 4 August 2026 by ScegliAuto 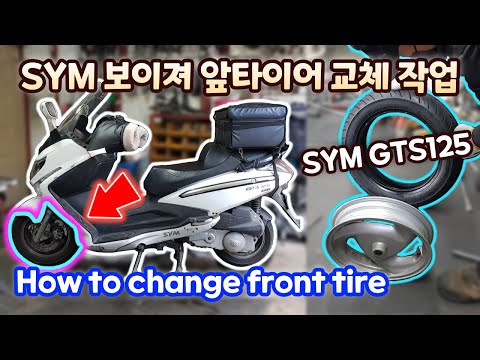 Sym Voyager Gts 125 How to Remove the Front Wheel of the Sym Voyager GTS 125 In this brief and simple guide, you will learn how to remove the front wheel and replace the tyre of the Sym Voyager GTS 125 scooter, as well as the 250 model. …Read all… Posted on 28 July 2026 by ScegliAuto 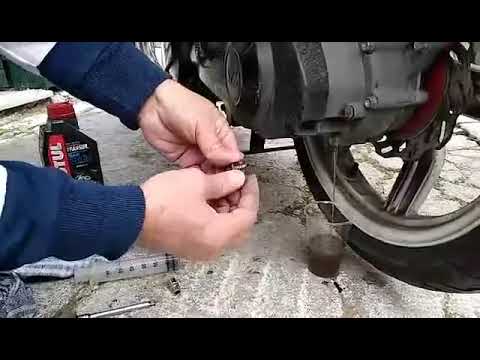 Sym Voyager Gts 125 How to Replace the Rear Tyre on a Sym Voyager GTS 125 In today's tutorial video, you will see the instructions for removing and replacing the rear wheel and tyre of the Sym Voyager GTS 125 scooter. First, place …Read all… Posted on 22 July 2026 by ScegliAuto  Sym Voyager Gts 125 How to Remove the Front Fairing on the Sym Voyager GTS 125 In this video tutorial, you will learn how to remove the front part or the entire front fairing on the Sym Voyager GTS 125 scooter, following the instructions …Read all… Posted on 2 June 2026 by ScegliAuto |
How to Set the Clock on a Fiat Scudo
Setting the time on a Fiat Scudo is a simple and quick operation. First, turn on the vehicle's onboard computer and then press the SET button located on the dashboard. The settings menu will appear on the display; press the "+" button to select the "TIME" option using the "SET" button. Once in the clock menu, you can choose the format and adjust the hours and minutes by pressing the "+", "-" and "SET" buttons. When finished, return to the main menu and then turn off the ignition to complete the reset. by ScegliAuto More videos
|
|
For advertising on this site Write to info@scegliauto.com
ScegliAuto is not responsible for any inaccuracy of the data in the lists. To report any inaccuracy or your business (if you own the business in question), please write to info@scegliauto.com
Number of seconds to generate the page: 0.007
(c) ScegliAuto 2026 - info@scegliauto.com - Privacy policy VAT number: IT01247470535 |
