
|
Do it yourself
| |||
| ||||


How to install rubber extensions for the bumper of the Tata Tiago?
Model: Tata Tiago
MK 1
- Years 2016-2024
On the Tata Tiago we can install a rubber extension to the bumper to customize the look of our car. After purchasing it from any car accessories retailer, we can proceed to install it independently. The first thing to do is to clean the bumper with a suitable cleaner or alcohol. We take the rubber extension and serrate the edge from the part where it will have to adhere to the bodywork, remove the protective film and glue the accessory to our bumper. The rubber extension is already adhesive and does not require the use of additional glue. If desired, we can further customize it with stickers.
Posted on 10 August 2022 by ScegliAuto
Video tutorial
Related tutorials
Tata Tiago
(2016-2024 /
MK 1)
In this tutorial we can see how to replace the battery in the Tata Tiago, an extremely simple and fast operation. Before proceeding, make sure that t…
Tata Tiago
(2016-2024 /
MK 1)
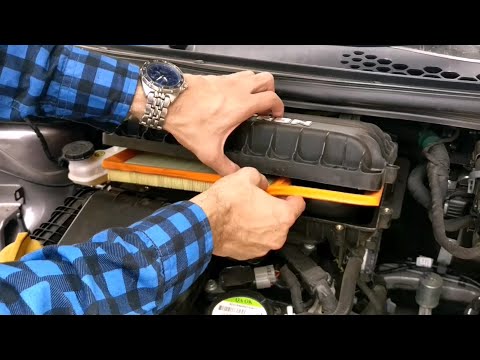
If the air filter inside your Tata Tiago is now too worn out and no longer guarantees optimal performance, then you must necessarily proceed with its…
Tata Tiago
(2016-2024 /
MK 1)
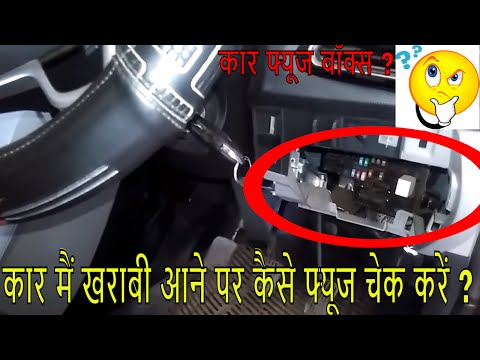
The fuses of the Tata Tiago are contained within the appropriate fuse boxes that are installed on the vehicle: in this type of car, it is possible to…
Other guides you may be interested in
|
Removing the Timing Belt on a Suzuki Vitara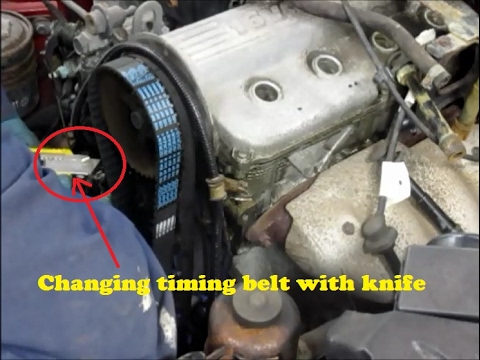
In this video, see the removal and replacement of the timing belt and water pump on a Suzuki Vitara. Open the bonnet and lift it, securing it in place. Use a socket wrench to remove the cooling radiator along with the associated hoses. Disconnect the power wiring using pliers, and remove the plastic undertray with a screwdriver. Use a spanner to loosen the tensioner pulley and slide the belt off its seat. Use a socket wrench to unscrew the tensioner pulley bolt, and remove the water pump as shown in the video. Fit the new water pump, the tensioner, and the belt itself, tightening everything with the socket wrench. Finally, reinstall the radiator with the securing bolts. by ScegliAuto More videos
|

|
For advertising on this site Write to info@scegliauto.com
ScegliAuto is not responsible for any inaccuracy of the data in the lists. To report any inaccuracy or your business (if you own the business in question), please write to info@scegliauto.com
Number of seconds to generate the page: 0.052
(c) ScegliAuto 2026 - info@scegliauto.com - Privacy policy VAT number: IT01247470535 |