
|
Do it yourself
| |||
| ||||



How to Remove the Glove Compartment Door of a Toyota Yaris?
Model: Toyota Yaris
Xp90
- Years:
2005, 2006, 2007, 2008, 2009, 2010, 2011
Video tutorial
To remove the glove compartment door of your Toyota Yaris, proceed as follows. First, open the door to access the glove compartment. Once opened, carefully observe the opening guides on the inner side of the door. These guides are usually small hooks or clips that hold the door in place. Gently apply slight pressure on the opening guides to unclip the door from its housing. Continue to push gently until you feel the door start to unclip. Once the door is completely unclipped, you can carefully remove it from the opening guides. Ensure you pay attention during this operation to avoid damaging the door or the guides. Once the door has been removed, you can proceed with any necessary repairs or maintenance.
Updated on 9 November 2026 by ScegliAuto
Related tutorials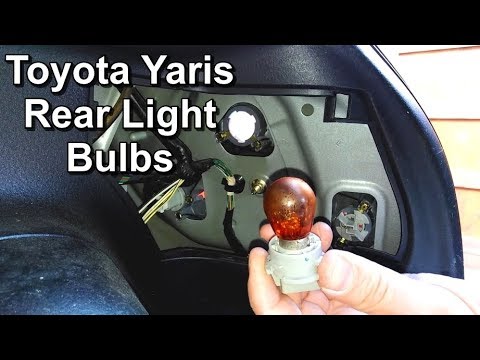
Toyota Yaris
(1999-2005 /
Xp10)
Before you can start, open the tailgate of your Toyota Yaris. Begin by unclipping the clips that secure the internal cover on the side of the boot. N…

Toyota Yaris
(1999-2005 /
Xp10)
Replace the outer handle mounted on the door if damaged. Here’s how to do it. To remove the lock, you must detach the internal cover panel. After rem…

Toyota Yaris
(2005-2011 /
Xp90)
How do you remove the door panel of a Toyota Yaris? Don't worry, this guide shows you how to proceed. Before starting the disassembly, disconnect the…
Other guides you may be interested in
|
Frequently Asked QuestionsHow to reset the Service light on a 2019 Jeep Renegade?
The Service light, depicted as a yellow spanner, illuminates as scheduled to remind the driver that it is time for scheduled maintenance. This means that the set mileage has been reached, or the expected time has passed. The procedure involves turning on the instrument cluster, pressing the accelerator three times, and then turning off the ignition. After this, keep the brake pressed, turn the ignition back on, and then turn it off again. Upon the next ignition, you will notice that the light has been reset. by ScegliAuto More videos
|
|
For advertising on this site Write to info@scegliauto.com
ScegliAuto is not responsible for any inaccuracy of the data in the lists. To report any inaccuracy or your business (if you own the business in question), please write to info@scegliauto.com
Number of seconds to generate the page: 0.014
(c) ScegliAuto 2026 - info@scegliauto.com - Privacy policy VAT number: IT01247470535 |
