
|
Do it yourself
| |||
| ||||


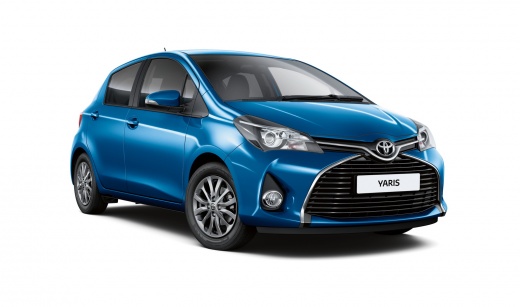
Replacing Rear Headlight Bulbs on Toyota Yaris
Model: Toyota Yaris
Xp130
- Years:
2011, 2012, 2013, 2014, 2015, 2016, 2017, 2018, 2019
Video tutorial
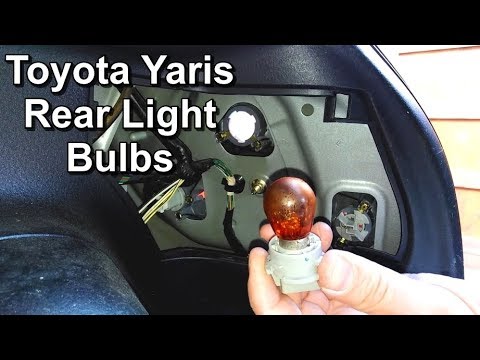
Open the boot lid and look to the side, behind the affected rear light. You will find a removable plastic cover in that area, behind which you can access the various rear light bulbs. Remove this cover by hand or using a plastic lever. To replace the burnt-out bulb, simply twist the connector slightly, pulling it out from its housing, and pull the bulb out of it. Then insert the new bulb and reposition the bulb-connector duo back into place.
Updated on 5 April 2026 by ScegliAuto
Related tutorials
Toyota Yaris
(2005-2011 /
Xp90)
Let's look at replacing the damaged bulbs inside the front headlight of a Toyota Yaris. Lift the bonnet and locate the back of the headlight. Remove …
Toyota Yaris
(2005-2011 /
Xp90)
Are the rear light bulbs on your Toyota Yaris not working? Learn in this video how to replace the bulbs. Open the boot lid, remove the plastic panel …

Toyota Yaris
(2005-2011 /
Xp90)
Is the rear light on your Toyota Yaris due for replacement? Here’s how to remove it from the car. Open the boot lid, then remove the plastic cover lo…
Other guides you may be interested in
|
How to reset the Service light on a 2019 Jeep Renegade?
The Service light, depicted as a yellow spanner, illuminates as scheduled to remind the driver that it is time for scheduled maintenance. This means that the set mileage has been reached, or the expected time has passed. The procedure involves turning on the instrument cluster, pressing the accelerator three times, and then turning off the ignition. After this, keep the brake pressed, turn the ignition back on, and then turn it off again. Upon the next ignition, you will notice that the light has been reset. by ScegliAuto More videos
|
|
For advertising on this site Write to info@scegliauto.com
ScegliAuto is not responsible for any inaccuracy of the data in the lists. To report any inaccuracy or your business (if you own the business in question), please write to info@scegliauto.com
Number of seconds to generate the page: 0.144
(c) ScegliAuto 2026 - info@scegliauto.com - Privacy policy VAT number: IT01247470535 |
