
|
Do it yourself
| |||
| ||||


|
Model: (Various brands) Various
Here’s the procedure to switch from halogen to LED headlights on a motorcycle or scooter. First, check the manual to see if your vehicle is already approved for LED use by the manufacturer: if so, the process will be straightforward. If the documentation only approves halogens, you must update the registration document before fitting LEDs on the road; without this step, you will be committing an offence and your insurance may not cover you in case of an accident. You can do this at the MCTC offices or through a motoring agency. Ensure that the LEDs you purchase comply with EU regulations for road use. The operational steps include accessing the headlight, which often requires removing the fairing, disconnecting the power supply, removing the halogen bulb, and installing the LED bulb, positioning the control unit and heat sink in a space where it can receive air to cool down. Connect the power supply, reconnect the battery, and check the operation.
Posted on 29 August 2026 by ScegliAuto
Video tutorial
Related tutorials
(Various brands) Various
The tutorial begins with the headlight already removed from the bike. Place the headlight on a workbench. Unscrew the bulb from the bottom and remove…
(Various brands) Various
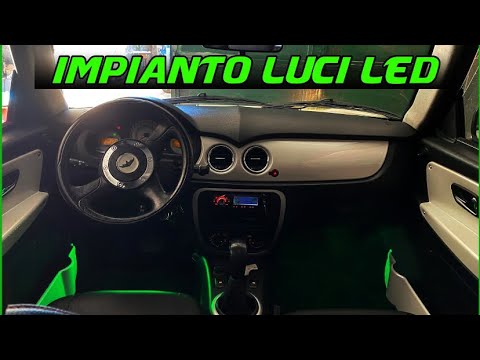
Microcar enthusiasts love to install LED lights that sync with the music from their stereo systems. You can find these lights on Amazon under code gp…

(Various brands) Various
When replacing halogen bulbs with LED ones, the dashboard light comes on: the electronic control unit monitors the status of the bulbs by measuring t…
|
How to replace the air filter in the Herald Classic 125?
In this tutorial, you will see how to replace the air filter in the Herald Classic 125, a very simple and quick operation. First, position yourself on the left side of the motorcycle, then grab the panel located under the seat, pull it towards you, and detach it from the frame. Next, unscrew the three fastening screws of the airbox cover, remove it, and take out the old filter from its housing. At this point, remove any dirt residue present, insert the replacement filter, and reassemble everything by following the reverse procedure. by ScegliAuto More videos
|
|
For advertising on this site Write to info@scegliauto.com
ScegliAuto is not responsible for any inaccuracy of the data in the lists. To report any inaccuracy or your business (if you own the business in question), please write to info@scegliauto.com
Number of seconds to generate the page: 0.038
(c) ScegliAuto 2026 - info@scegliauto.com - Privacy policy VAT number: IT01247470535 |
