
|
Do it yourself
| |||
| ||||


How to Replace Broken Speakers with Aftermarket Ones
Model: (Various brands) Various
Let’s see how to replace the speakers in our car with aftermarket ones: first, disconnect the car battery, then remove the inner door panels using flat-head screwdrivers and plastic trim tools; disconnect the connectors and take photos of the original wiring. If the wires are not identified, you can test them with a multimeter (recommended method) or with an AA/AAA battery, making a brief connection; if the cone moves forward, the wire is positive. Problems you may encounter include misaligned holes and different depths of the speakers. The solution is to purchase a 6.5" adapter ring, or directly mount using the old bracket as a guide, marking new holes on the original bracket and drilling holes with the appropriate diameter drill: use self-tapping screws for plastic and ensure the magnet does not touch the door. You can also create a bracket from plastic and trace the shape of the original bracket, sealing it with automotive silicone. Once decided, move on to the connection: keep the original connectors if possible, apply sound-absorbing material behind the speakers, and if space allows, install speaker covers. Before closing, reconnect the battery and test to ensure all channels are working.
Posted on 10 February 2026 by ScegliAuto
Video tutorial
Related tutorials
(Various brands) Various
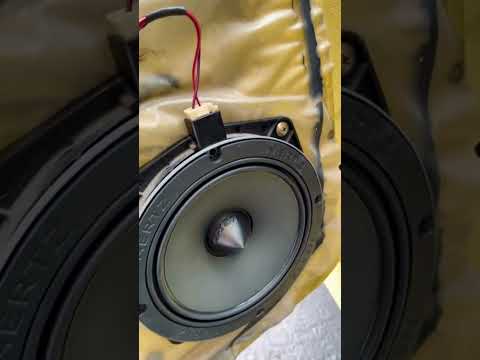
If we want to upgrade the speakers in our car, it is good to remember some of the indications that this youtuber gives us regarding aftermarket speak…
(Various brands) Various
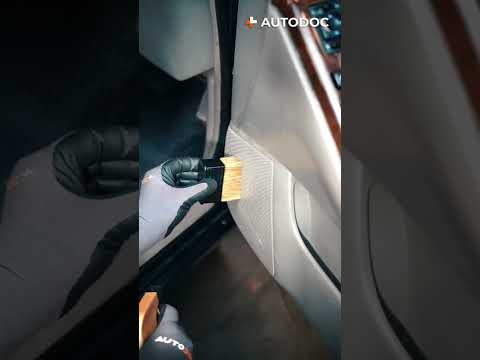
Often when cleaning the car, we forget to clean the speakers, perhaps thinking that wiping the panel with a damp cloth is sufficient. In reality, thi…
(Various brands) Various
Replacing car speakers is a similar process for many vehicles as audio systems are standardised. In the adjacent video, we show you how to replace so…
Other guides you may be interested in
|
How to change the time on a Toyota Yaris
In this video we see how to change the time on a Toyota Yaris, specifically when it comes to switching from daylight saving time to standard time and vice versa. We go to the multifunction screen and press "settings": from there we go to press the clock, simply click on daylight saving time, and the clock will change the time for us, without doing anything else. All we want to do is just adjust the time format to 12 or 24 hours, as is customary in the area where we live: for example in Anglo-Saxon countries it is common to set the time to 12 hours, while in the European Union it is normally set to 24 hours. by ScegliAuto More videos
|
|
For advertising on this site Write to info@scegliauto.com
ScegliAuto is not responsible for any inaccuracy of the data in the lists. To report any inaccuracy or your business (if you own the business in question), please write to info@scegliauto.com
Number of seconds to generate the page: 0.185
(c) ScegliAuto 2026 - info@scegliauto.com - Privacy policy VAT number: IT01247470535 |
