
|
Do it yourself
| |||
| ||||


How to Create a Starry Sky in Your Car
Model: (Various brands) Various
Although this is a rather flashy modification, it doesn't mean it isn't nice; let's see how to turn the headlining of our vehicle into a starry sky. You will need 0.75 or 1 mm optical fibre. The quantity varies based on the size of the roof. You will also need an LED projector for optical fibre with colour/twinkle mode for the "twinkling stars" effect; then you will need a drill with a thin bit (0.5/1mm), a hot glue gun, glue, scissors, and masking tape. First, you should make a plan: divide the roof into 8 sections as shown in the video, to evenly distribute the stars, creating a grid. Remove the headlining and drill from the inside: the hole should be slightly smaller than the optical fibre (0.8 for 1 mm fibre). Insert the fibre strands into the holes and secure them with a drop of glue, cut the fibres flush with the headlining (leave 2/3 cm inside). Connect the fibres to the LED projector (which is usually bundled), hide the cables along the roof pillars, and connect the projector to the car's 12V socket. For a "twinkle" effect, choose a projector with "random twinkle" mode. For an average roof, the right density of stars is between 150 and 300. With blue/white, you achieve a classic effect, while alternating colours will give a more "customised" effect.
Posted on 10 March 2026 by ScegliAuto
Video tutorial
Related tutorials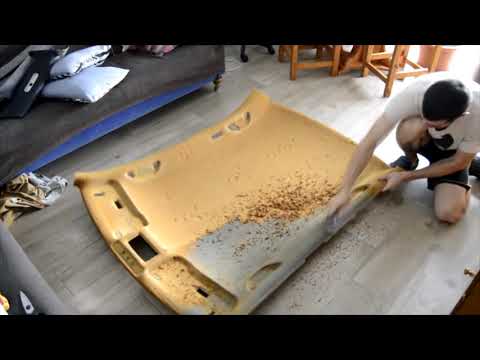
(Various brands) Various
In this video we see how our youtuber managed to do a truly excellent job with the lining of the ceiling of his car (it should be a Polo), with a pat…

(Various brands) Various
(2006-2015 /
)
If you have lost your car keys or they are locked inside the cabin with the doors closed, there are techniques for opening the door without causing d…

(Various brands) Various
A damaged thread can be temporarily restored using several methods. The first method involves inserting a piece of bare copper wire and screwing in t…
Other guides you may be interested in
|
How to change the time on a Toyota Yaris
In this video we see how to change the time on a Toyota Yaris, specifically when it comes to switching from daylight saving time to standard time and vice versa. We go to the multifunction screen and press "settings": from there we go to press the clock, simply click on daylight saving time, and the clock will change the time for us, without doing anything else. All we want to do is just adjust the time format to 12 or 24 hours, as is customary in the area where we live: for example in Anglo-Saxon countries it is common to set the time to 12 hours, while in the European Union it is normally set to 24 hours. by ScegliAuto More videos
|
|
For advertising on this site Write to info@scegliauto.com
ScegliAuto is not responsible for any inaccuracy of the data in the lists. To report any inaccuracy or your business (if you own the business in question), please write to info@scegliauto.com
Number of seconds to generate the page: 0.390
(c) ScegliAuto 2026 - info@scegliauto.com - Privacy policy VAT number: IT01247470535 |
