
|
Do it yourself
| |||
| ||||


Electrical Problem with the Air Conditioning in a Volkswagen Sharan
Model: Volkswagen Sharan
MK 1, 7M
- Years 1995-2010
In this video, see the solution to a dangerous electrical problem where a connector in a Volkswagen Sharan overheats and catches fire when the air conditioning is turned on. The electrical connector overheats and burns when the air conditioning is at maximum power. The problem is a malfunctioning electrical contact within the connector, oxidised or damaged. The current does not pass correctly through the contact point, generating heat until it melts the plastic and causes smoke. The fuse does not blow, as the overheating occurs downstream of the fuse itself, on the load side. The solution is to remove the connector to view the damage (blackened and melted contacts); cut the damaged terminals and thoroughly clean the wires. To eliminate the faulty connector, the wires are soldered to create a new secure contact. The video emphasises the importance of checking electrical connectors when experiencing overheating issues, especially with systems that draw a lot of current, such as the air conditioning system.
Posted on 30 April 2026 by ScegliAuto
Video tutorial
Related tutorials
Volkswagen Sharan
(2010-2023 /
7N, MK 2)
In this tutorial, we will see how to reset the air conditioning system in the Volkswagen Sharan, a very simple and quick operation that can be perfor…

Volkswagen Sharan
(2010-2023 /
7N, MK 2)
This guide provides the main instructions for removing and replacing the standard radio in the Volkswagen Sharan, in simple and quick steps. First, g…
Volkswagen Sharan
(1995-2010 /
MK 1, 7M)
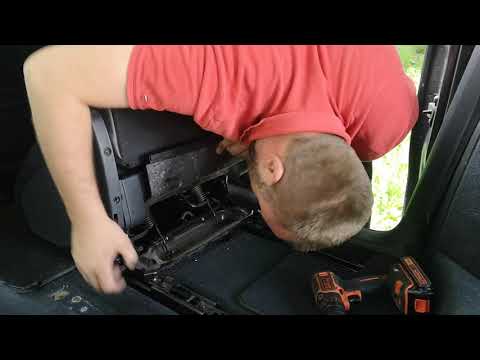
Remove the front seat from a Volkswagen Sharan. Move the seat up, then use a socket spanner to undo the securing bolts on the rear rail. Slide the se…
Other guides you may be interested in
|
How to Connect the Cables to the Battery of the Citroen Xsara Picasso?
In this tutorial, you will see how to connect the cables to the battery of the Citroen Xsara Picasso, useful if you need to recharge it or perform an emergency start. First, ensure the key is not inserted, then open the bonnet and move to the front of the left headlamp. Next, locate the bolt just behind the filter box and connect the positive terminal clamp to it. Now you can connect the negative terminal to any point on the chassis, such as the indicated point. Once the operation is complete, ensure you disconnect the negative first and then the positive. by ScegliAuto More videos
|
|
For advertising on this site Write to info@scegliauto.com
ScegliAuto is not responsible for any inaccuracy of the data in the lists. To report any inaccuracy or your business (if you own the business in question), please write to info@scegliauto.com
Number of seconds to generate the page: 0.199
(c) ScegliAuto 2026 - info@scegliauto.com - Privacy policy VAT number: IT01247470535 |
