
|
Do it yourself
| |||
| ||||


How to Reset the Front Headlight Bulb on a Yamaha YTX 125
Model: Yamaha Ytx 125
Video tutorial
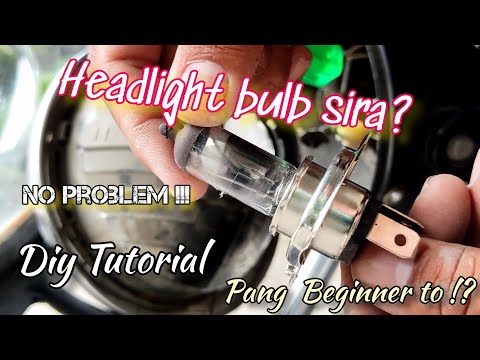
As seen in this tutorial, replacing the front headlight bulb on a Yamaha YTX 125 is an extremely simple and quick task. Before proceeding, ensure the key is not in the ignition for safety. Start by unscrewing the two screws located on either side of the headlight frame, then separate the headlight from the base and disconnect the power connector. Next, remove the rubber protective cap, unclip the metal clip, and extract the bulb from the housing. Once the replacement is inserted, simply follow the reverse procedure to reassemble everything.
Updated on 1 July 2026 by ScegliAuto
Related tutorials
Ytx 125
In this tutorial, we can see how to replace the headlight bulb in the Yamaha YTX 125, an extremely simple and quick operation. First of all, make sur…
Ytx 125
In this tutorial, you will see how to replace the headlight bulb on a Yamaha YTX 125, a very simple and quick operation. First, ensure that the key i…

Ytx 125
In this tutorial, you will learn how to remove the rear light on a Yamaha YTX 125, a very simple and quick operation. First, ensure that the key is n…
|
How to Remove the Radiator from an Aprilia RSV 1000R
This guide provides the main instructions for removing and replacing the cooling radiator of the Aprilia RSV 1000R motorcycle. First, place your motorcycle on a stand and start unscrewing the fixing screws of the side plastic fairings to remove them; then disconnect the radiator hoses, draining the fluid into a container, and unscrew the bracket screws to remove it from the frame and engine, as illustrated in the video. At this point, install the new radiator and finally top up with the new antifreeze! by ScegliAuto More videos
|
|
For advertising on this site Write to info@scegliauto.com
ScegliAuto is not responsible for any inaccuracy of the data in the lists. To report any inaccuracy or your business (if you own the business in question), please write to info@scegliauto.com
Number of seconds to generate the page: 0.008
(c) ScegliAuto 2026 - info@scegliauto.com - Privacy policy VAT number: IT01247470535 |
