
|
Do it yourself
| |||
| ||||


Model: Yamaha Ytx 125
In this tutorial, you will learn how to remove the rear light on a Yamaha YTX 125, a very simple and quick operation. First, ensure that the key is not inserted. Then, detach the seat, locate the white power connector, and disconnect it. Next, unscrew the two screws indicated using a cross-head screwdriver, grasp the light unit, and separate it from the support. At this point, simply position the replacement part and follow the reverse procedure. If you need to replace the bulb, you will need to open the rear plate.
Updated on 3 September 2026 by ScegliAuto
Video tutorial
Related tutorials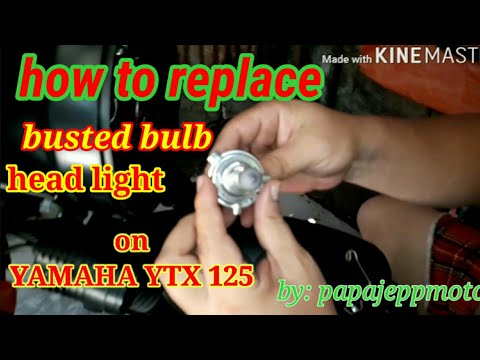
Ytx 125
As seen in this tutorial, replacing the front headlight bulb on a Yamaha YTX 125 is an extremely simple and quick task. Before proceeding, ensure the…

Ytx 125
In this tutorial, we can see how to replace the headlight bulb in the Yamaha YTX 125, an extremely simple and quick operation. First of all, make sur…
Ytx 125
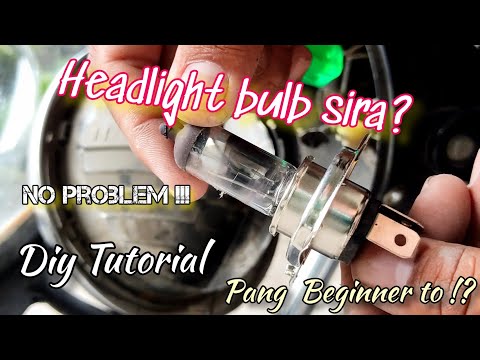
In this tutorial, you will see how to replace the headlight bulb on a Yamaha YTX 125, a very simple and quick operation. First, ensure that the key i…
|
How to Reset the Service on the Royal Enfield Classic 350?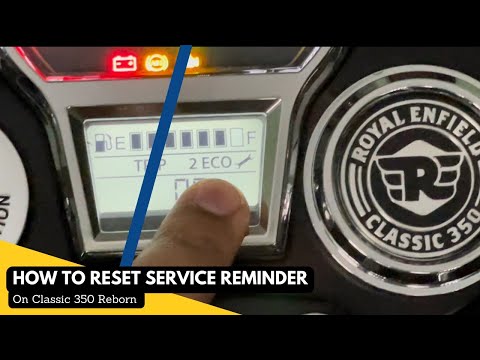
In this tutorial, you will see how to reset the service on the Royal Enfield Classic 350, a very simple and quick operation. Before proceeding, ensure all scheduled maintenance tasks are completed. Start by inserting the key and turning on the instrument cluster, then navigate to the "Trip 2" mileage using the button on the left knob. Next, turn off the ignition, press and hold the same button for 10 seconds, and while keeping it pressed, turn the ignition back on. At this point, wait for the icon of a spanner to disappear. by ScegliAuto More videos
|
|
For advertising on this site Write to info@scegliauto.com
ScegliAuto is not responsible for any inaccuracy of the data in the lists. To report any inaccuracy or your business (if you own the business in question), please write to info@scegliauto.com
Number of seconds to generate the page: 0.006
(c) ScegliAuto 2026 - info@scegliauto.com - Privacy policy VAT number: IT01247470535 |
