
|
Do it yourself
| |||
| ||||


|
Model: Yamaha Yzf R125
As shown in this tutorial, replacing the air filter on a Yamaha YZF R125 is a straightforward and quick task. First, remove the rider's seat, then unscrew all the screws securing the tank, remove the cover, and then the tank itself. Next, locate the airbox, unscrew the screws around the perimeter, and remove the top half. At this point, you can extract the old filter, clean any dirt residue, and insert the replacement. To reassemble everything, simply follow the reverse procedure.
Updated on 15 July 2026 by ScegliAuto
Video tutorial
Related tutorials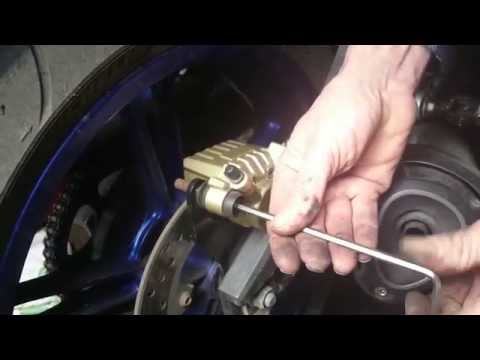
Yzf R125
In this short video tutorial, you will learn how to remove and replace the rear brake pads on a Yamaha YZF R125, following the instructions below. Fi…
Yzf R125
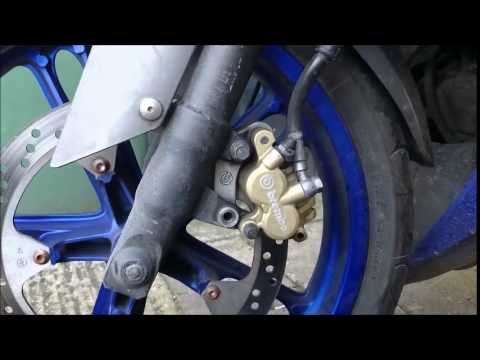
In this tutorial, you will see how to replace the front brake pads on a Yamaha YZF R125, a very simple and quick operation. First, locate the metal c…

Yzf R125
In order to replace the brake pads of the Yamaha YZF R125, the same operation must be carried out for both the front wheel and the rear wheel: once t…
|
How to Reset the Oil Service on the Yamaha YZF-R25?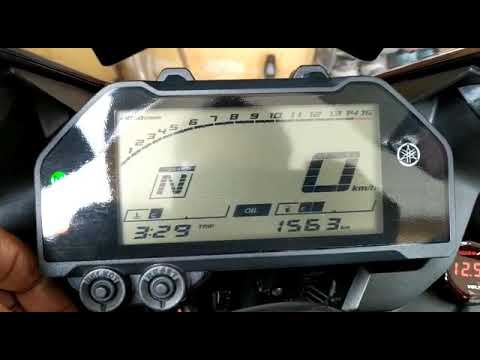
In this tutorial, see how to reset the oil service on the Yamaha YZF-R25, a very simple and quick operation. Before proceeding, ensure that all required scheduled maintenance tasks are completed. Start by inserting the key and turning on the instrument panel; it is not necessary to start the engine. Then, by repeatedly pressing the left button on the dashboard, navigate to the mileage interval labelled "OIL". Once done, press and hold the right button for about 5 seconds, or for the time necessary to reset the interval correctly. by ScegliAuto More videos
|
|
For advertising on this site Write to info@scegliauto.com
ScegliAuto is not responsible for any inaccuracy of the data in the lists. To report any inaccuracy or your business (if you own the business in question), please write to info@scegliauto.com
Number of seconds to generate the page: 0.005
(c) ScegliAuto 2026 - info@scegliauto.com - Privacy policy VAT number: IT01247470535 |
