
|
Do it yourself
| |||
| ||||


Model: Yamaha Aerox
To change the motor oil of a Yamaha Aerox, start by warming up the engine for a few minutes to make the oil more fluid, then turn it off. Place the scooter on a center stand to ensure stability. Locate the oil drain plug, usually located on the bottom side of the engine. Use an appropriate wrench to loosen the drain plug and let the used oil drain completely into a collection container. Once all the oil has been drained, replace the drain plug and tighten it securely. Now, find the oil fill cap, usually located on one side of the engine. Remove the cap and use a funnel to slowly pour the recommended amount of new motor oil as stated in the owner's manual. Make sure not to exceed the maximum level. After completing the filling, replace the fill cap and tighten it securely. Finally, start the engine for a few minutes and check for any oil leaks.
Posted on 18 June 2024 by ScegliAuto
Video tutorial
Related tutorials
Aerox
To change the oil of a Yamaha Aerox, start by warming up the engine for a few minutes to make the oil more fluid. Turn off the engine and place the s…

Aerox
In this tutorial we can see how to replace the engine oil in the Yamaha Aerox scooter, an extremely simple and quick operation. First of all, make su…

Aerox
In this tutorial we can see how to replace the engine oil in the Yamaha Aerox 155 scooter, an extremely simple and fast operation. First of all, we w…
|
Replacing the Front Brake Pads on the Piaggio Vespa 50 LX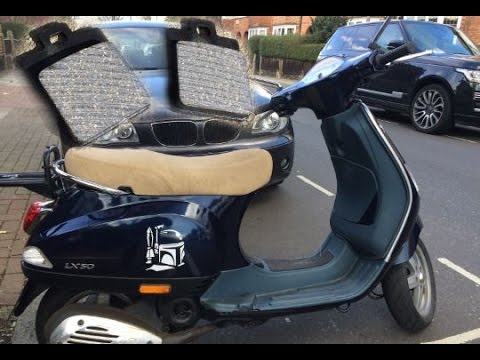
This guide will illustrate the instructions on how to remove and replace the front brake pads on the Piaggio Vespa 50 LX. First, place your scooter on the centre stand and start unscrewing the nuts securing the front wheel to remove it; then use pliers to remove the brake pad retaining clip, as shown in the video. At this point, remove the old pads, cleaning the caliper of dirt; press the caliper piston back to allow for the installation of the new pads (of excellent quality). Finally, reassemble the front wheel. by ScegliAuto More videos
|
|
For advertising on this site Write to info@scegliauto.com
ScegliAuto is not responsible for any inaccuracy of the data in the lists. To report any inaccuracy or your business (if you own the business in question), please write to info@scegliauto.com
Number of seconds to generate the page: 0.005
(c) ScegliAuto 2026 - info@scegliauto.com - Privacy policy VAT number: IT01247470535 |
