
|
Do it yourself
| |||
| ||||


Acura Rdx - Door trim panelDoor Trim Panel Acura Rdx (2019-2026 / mk 3)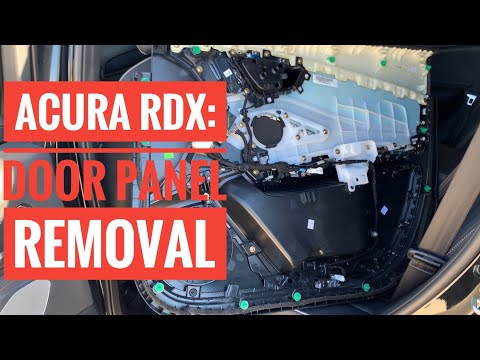 Acura Rdx (2019-2026 / MK 3)
How to Remove the Front Door Panel of the Acura RDX Mk3 This guide shows how to remove the front door panel of the Acura RDX Mk3. The first step is to remove the two Phillips screws located under the finish cover in …Read all… Posted on 5 August 2026 by ScegliAuto 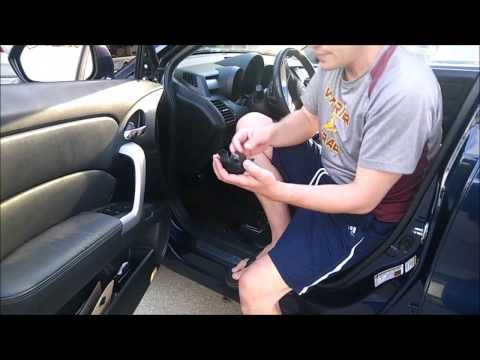 Acura Rdx (2006-2012 / MK 1)
How to Remove the Door Panel and Speaker of the Acura RDX In this brief guide, you will learn how to remove and replace the front door panel and speaker of the Acura RDX. First, open the front door and start by …Read all… Posted on 26 August 2026 by ScegliAuto Door Trim Panel Acura Rdx (2006-2012 / mk 1)
Acura Rdx (2019-2026 / MK 3)How to Remove the Front Door Panel of the Acura RDX Mk3 This guide shows how to remove the front door panel of the Acura RDX Mk3. The first step is to remove the two Phillips screws located under the finish cover in …Read all… Posted on 5 August 2026 by ScegliAuto
Acura Rdx (2006-2012 / MK 1)How to Remove the Door Panel and Speaker of the Acura RDX In this brief guide, you will learn how to remove and replace the front door panel and speaker of the Acura RDX. First, open the front door and start by …Read all… Posted on 26 August 2026 by ScegliAuto Roof rack bars (1) Battery (3) Spark plugs (1) Key (9) Onboard computer (1) Air filter (4) Cabin air filter (1) Oil filter (1) Accessory kit (1) Light bulb (1) Headlight bulb (1) License plate light (1) Door trim panel (2) Front bumper (1) Brake pads (1) Fuse box (2) Warning light – error code (3) Service warning light (5) |
How to set the clock on the Vespa 125 Primavera?
To set the clock on the Vespa 125 Primavera, press and hold the black button located just below the black knob on the bike: keep the button pressed until the hour number starts to flash. Once it is flashing, you can change the hours with single presses of the same button; then, by pressing and holding the button again, the hour number will stop flashing and the minute number will start to flash, which can be modified in the same way, confirming the input by holding the button. by ScegliAuto More videos
|
|
For advertising on this site Write to info@scegliauto.com
ScegliAuto is not responsible for any inaccuracy of the data in the lists. To report any inaccuracy or your business (if you own the business in question), please write to info@scegliauto.com
Number of seconds to generate the page: 0.010
(c) ScegliAuto 2026 - info@scegliauto.com - Privacy policy VAT number: IT01247470535 |
