
|
Do it yourself
| |||
| ||||


Replacing the Auxiliary Belt on an Alfa Romeo
Model: Alfa Romeo Alfa-romeo Various
Hello, today you will replace the auxiliary belt on an Alfa Romeo. First, lift the car on the passenger side using a jack, turning the wheel outward to remove the wheel arch liner. Unscrew the screws holding the wheel arch liner and any engine cover. Now locate the tensioner bearing and with a 16 mm spanner pull towards you to loosen the belt and remove it. If you do not remember the exact position of the belt, draw a diagram on paper of its original position. Ensure the replacement belt is identical to the one being replaced, and refit it, checking that the writing on the outer part of the belt is readable from your position and not upside down. It is advisable to fit it first over the upper pulleys and then lower it, leaving the tensioner free. When the belt is in position, use the spanner to turn the tensioner and put it in place. Now rotate the last pulley, which is the crankshaft pulley, a few times to ensure the belt is correctly positioned. You can now reassemble the covers and the wheel arch liner, and finally lower the car from the jack.
Updated on 28 May 2026 by ScegliAuto
Video tutorial
Related tutorials
Alfa Romeo Alfa-romeo Various
In today's video tutorial, you will see the steps to remove and replace the timing belt on the 1.9 MultiJet engines of Fiat, Lancia, and Alfa Romeo. …

Alfa Romeo Alfa-romeo Various
In this video tutorial, you will learn how to remove the water pump from an Alfa Romeo 33, now a classic of all time. The main steps to access the wa…
Alfa Romeo Alfa-romeo Various
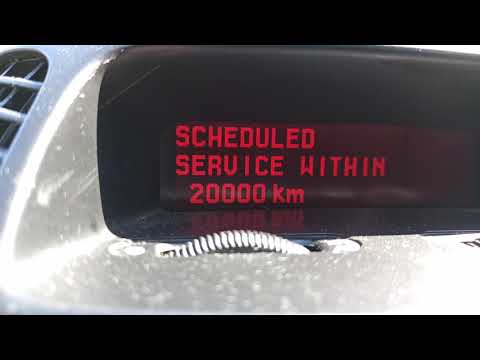
Before you can start, sit in the driver's seat of your Alfa Romeo 156. Begin by activating the instrument cluster, without starting the engine. Next,…
Other guides you may be interested in
|
How to Connect the Cables to the Battery of the Citroen Xsara Picasso?
In this tutorial, you will see how to connect the cables to the battery of the Citroen Xsara Picasso, useful if you need to recharge it or perform an emergency start. First, ensure the key is not inserted, then open the bonnet and move to the front of the left headlamp. Next, locate the bolt just behind the filter box and connect the positive terminal clamp to it. Now you can connect the negative terminal to any point on the chassis, such as the indicated point. Once the operation is complete, ensure you disconnect the negative first and then the positive. by ScegliAuto More videos
|
|
For advertising on this site Write to info@scegliauto.com
ScegliAuto is not responsible for any inaccuracy of the data in the lists. To report any inaccuracy or your business (if you own the business in question), please write to info@scegliauto.com
Number of seconds to generate the page: 0.069
(c) ScegliAuto 2026 - info@scegliauto.com - Privacy policy VAT number: IT01247470535 |
