
|
Do it yourself
| |||
| ||||


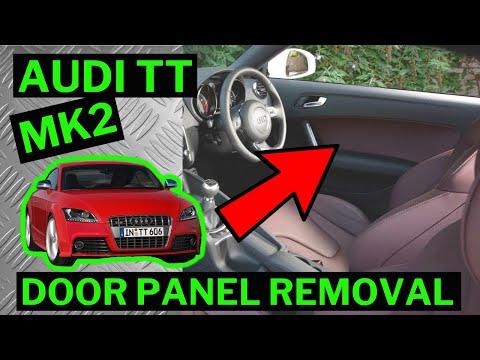
How to disassemble the door panel of an Audi TT?
Model: Audi Tt
8S, MK 3
- Years 2014-2023
To disassemble the door panel of an Audi TT, start by lowering the window completely to facilitate access. Locate and remove all visible fixing screws, usually hidden under caps or in the cavities of the door handle. Use a star screwdriver to unscrew them. Once the screws are removed, use a plastic tool to gently pry along the bottom edge of the panel, freeing it from the plastic clips that secure it to the door frame. Proceed carefully along the perimeter of the panel to release all the clips without damaging them. After releasing the panel from the clips, lift it slightly to detach it from the top near the window. Carefully disconnect the electrical connectors of the door controls and speakers. At this point, the door panel should be completely removed, allowing you to access the internal components of the Audi TT door for any repairs or replacements.
Posted on 15 June 2024 by ScegliAuto
Video tutorial
Related tutorials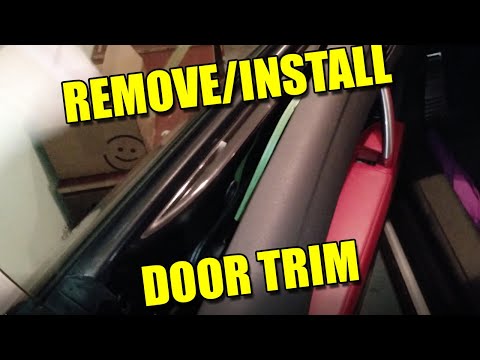
Audi Tt
(2006-2014 /
8J, MK 2)
Do we want to change the door cover panel? Let's see the disassembly of the panel of an Audi TT. We open the door and see the plastics to be removed.…
Audi Tt
(2006-2014 /
8J, MK 2)
To be able to remove the door panel from the Audi TT you have to pry with an object so that you can detach the cover which is located to the left of …

Audi Tt
(2006-2014 /
8J, MK 2)
Removing the door panel of an Audi TT car is a simple and quick operation to be carried out independently. To perform this operation, we need to open…
Other guides you may be interested in
|
How to Replace the Front Headlamp Bulb on a Fiat Grande Punto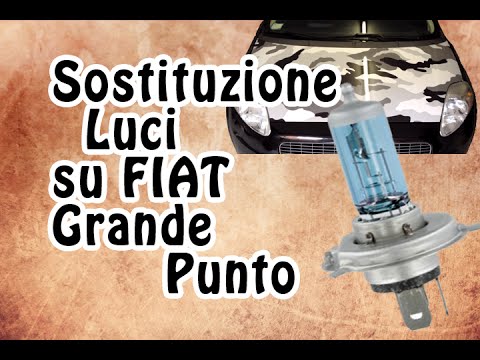
To replace the front headlamp bulb on a Fiat Grande Punto, first open the bonnet. Once done, access the rear of the headlamp where the bulb needs replacing (the bulb is of type H4). Locate the rubber cover that protects the electrical contacts and bulbs from water and moisture. Remove it by pulling on the tab. Now, pull the connector for the bulb's power supply and disconnect it from its position. At this point, push down on the top of the spring that holds the bulb in place, and you can extract the bulb from its housing. To fit the new bulb, follow the steps in reverse as shown in the images. The video also shows how to remove the position bulb, which is located just below the H4. After disconnecting the power supply, you can extract it along with the bulb holder by pressing the two tabs to release it and pulling. The bulb can then be removed from its position in the bulb holder. by ScegliAuto More videos
|

|
For advertising on this site Write to info@scegliauto.com
ScegliAuto is not responsible for any inaccuracy of the data in the lists. To report any inaccuracy or your business (if you own the business in question), please write to info@scegliauto.com
Number of seconds to generate the page: 0.049
(c) ScegliAuto 2026 - info@scegliauto.com - Privacy policy VAT number: IT01247470535 |