
|
Do it yourself
| |||
| ||||


How to Remove the Front Brake Rotor on a BMW X3
Model: BMW X3
MK 1, E83
- Years 2003-2010
Let's see how to remove the front brake rotor on a BMW X3. Position your car on a column lift and raise it to a comfortable height for working. Loosen the bolts with a socket wrench or air drill and remove the wheel, then start loosening the bolts of the brake caliper to detach it from the bracket, using a screwdriver to remove the brake pads. Now remove the caliper bracket and loosen the bolts on the brake rotor (using a Torx screwdriver), pull the rotor towards you to slide it off the wheel hub. Install the new brake rotor with all the associated bolts, tighten the caliper bracket to the rotor and the brake pads, then install the brake caliper, making sure to tighten all the bolts securely. Before mounting the wheel, bleed the brake caliper and then tighten the bolt. Finally, install the wheel with the bolts.
Updated on 1 March 2026 by ScegliAuto
Video tutorial
Related tutorials
BMW X3
(2003-2010 /
MK 1, E83)
To reset the brake light on a BMW X3 (this procedure also applies to the 3 Series, 5 Series, and X5), first ensure that the brake pads have been repl…
BMW X3
(2003-2010 /
MK 1, E83)
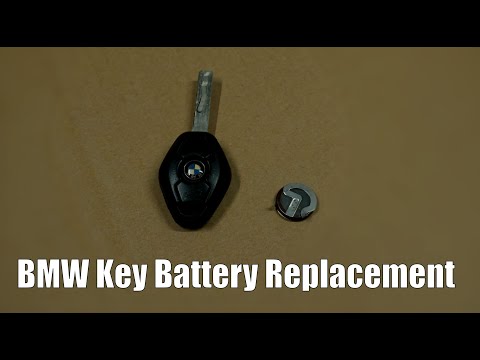
In this video tutorial, you will learn how to disassemble and replace the battery of the key remote on the BMW 3 Series E46, as well as on the X3 E83…

BMW X3
(2003-2010 /
MK 1, E83)
If you want to understand where the OBD port is located in your first-generation BMW X3, you just need to follow the steps described below. First, go…
Other guides you may be interested in
|
How to Open a Stuck Boot on the Peugeot 407?
On the Peugeot 407, the boot may become stuck, possibly due to a problem with the control button or the lock actuator. In such cases, you can perform an emergency opening by following the simple procedure shown in this tutorial. First, open the rear doors, then lower the seat back by operating the release lever. Next, go inside the boot, locate the lock, and manually operate it using a flathead screwdriver. The boot will then be free to open. by ScegliAuto More videos
|
|
For advertising on this site Write to info@scegliauto.com
ScegliAuto is not responsible for any inaccuracy of the data in the lists. To report any inaccuracy or your business (if you own the business in question), please write to info@scegliauto.com
Number of seconds to generate the page: 0.347
(c) ScegliAuto 2026 - info@scegliauto.com - Privacy policy VAT number: IT01247470535 |
