
|
Do it yourself
| |||
| ||||


Video tutorial
On the BMW i8, the installation of a rear spoiler first requires a compatibility check of the piece with the shape of the hatch and any existing profiles. Before securing anything, it's advisable to conduct a dry positioning test to check for centering, symmetry, and alignment with the edges, in order to avoid crooked installations or stress on the component. To prepare the bodywork, thoroughly clean the contact area by removing dirt, wax, and residues: a degreased surface is essential, especially if the spoiler requires fixation via double-sided tape or specific adhesive/sealant. If the kit uses mechanical fastening systems (screws, bolts, rivets), accurately identify the anchoring points and protect the surrounding surfaces with masking tape to avoid marking the paint during the process. Once you are certain of the position, proceed with the fastening according to the kit's instructions: if double-sided tape is included, apply it continuously and without interruptions in the designated areas, pressing evenly along the entire length and maintaining pressure for the necessary time to ensure good adhesion; if mechanical fastenings are required, gradually screw and tighten while alternating sides to avoid "pulling" the spoiler to one side. Finally, check that there are no raised points, gaps, or misalignments, and ensure that the opening/closing of the hatch remains smooth.
Posted on 28 December 2025 by ScegliAuto
Related tutorials
BMW i8
(2014-2021 /
MK 1)
BMW i8: a symbol of luxury and speed at the same time. This vehicle has been designed primarily for maximum performance with CO2 emissions comparable…

BMW i8
(2014-2021 /
MK 1)
In order to replace the air filter of the BMW i8, you will need to open the rear hatch, as in this car the combustion engine is mounted in the centra…

BMW i8
(2014-2021 /
MK 1)
To replace the battery of the BMW i8, open the bonnet to access the components in the front compartment: the battery will be located on the right sid…
Other guides you may be interested in
|
How to Reset the Tyre Pressure Light on a Cupra Formentor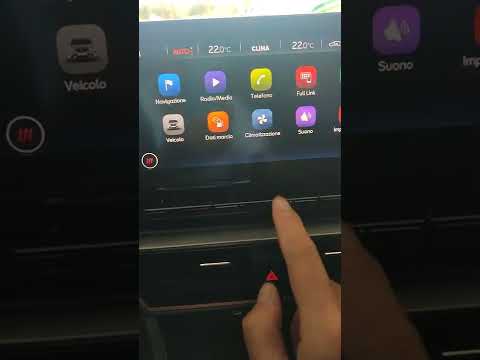
In this brief and simple video tutorial, learn how to reset the tyre pressure on a Cupra Formentor. Start by pressing the ignition button to turn on the instrument cluster. Now, use the touchscreen display on the central console to open the car menu. From here, select the driving data option, then the tyre pressure option. Now, click on the "SET" button with the pressure warning symbol and confirm the correct tyre pressure required by the manufacturer to perform the reset. by ScegliAuto More videos
|
|
For advertising on this site Write to info@scegliauto.com
ScegliAuto is not responsible for any inaccuracy of the data in the lists. To report any inaccuracy or your business (if you own the business in question), please write to info@scegliauto.com
Number of seconds to generate the page: 0.021
(c) ScegliAuto 2026 - info@scegliauto.com - Privacy policy VAT number: IT01247470535 |
