
|
Do it yourself
| |||
| ||||


How to Remove the Dashboard and Replace the Illumination
Model: Chrysler 300c
MK 1
- Years 2004-2011
Do you need to remove a dashboard plastic panel? Replace the satellite navigator? Replace the clock illumination? Here’s how to do it!
First, open the ashtray drawer, insert your hand inside with your palm facing up, and use your fingertips to grasp and pull towards you the silver plastic to loosen the clips. Using the same method, pull the trim along its perimeter to release all the clips, then carefully disconnect the various connectors behind the aluminium-coloured panel before fully removing it. Next, using a cross-head screwdriver, remove the 4 screws, 2 on each side, that hold the navigator in place. Once removed, you can extract it and disconnect the connectors before fully removing it. The video also shows where the bulbs that illuminate the clock are located, and if you have issues, it suggests replacing them with LED illumination, which is more durable and attractive.
Updated on 1 February 2026 by ScegliAuto
Video tutorial
Related tutorials
Chrysler 300c
(2004-2011 /
MK 1)
In order to replace the clock bulb on the dashboard of the Chrysler 300C you need to remove the plastic cover that wraps the car's central panel, on …
Chrysler 300c
(2011-2023 /
LD, MK 2)
In the following guide, we will discover together how to properly perform the manual reset of the engine oil light on your 2014 Chrysler 300 Mk2. Fir…
Chrysler 300c
(2011-2014 /
)
How to remove the instrument panel of a Chrysler 300C? Let's see how to disassemble the pieces: unscrew the screws placed in the plastic parts of the…
Other guides you may be interested in
|
How to Remove the CV Boot on Fiat Panda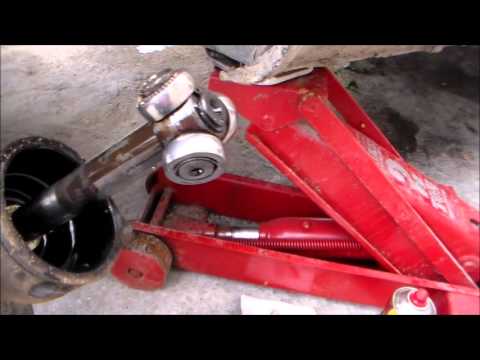
Let’s see how to remove the boot from the joint on a Fiat Panda. After positioning your car on a column lift: raise it to a comfortable height to work on, loosen the wheel nuts (using a socket wrench or air drill) and remove the wheel. Begin unscrewing the brake disc bolts with a socket wrench. Remove the bolts located under the disc and completely detach the wheel hub. Pull the arm around the joint with your hands. Fit the new boot (after removing the old one) onto the constant velocity joint, then start reassembling all the parts in reverse order. by ScegliAuto More videos
|

|
For advertising on this site Write to info@scegliauto.com
ScegliAuto is not responsible for any inaccuracy of the data in the lists. To report any inaccuracy or your business (if you own the business in question), please write to info@scegliauto.com
Number of seconds to generate the page: 0.097
(c) ScegliAuto 2026 - info@scegliauto.com - Privacy policy VAT number: IT01247470535 |