
|
Do it yourself
| |||
| ||||


Repairing Electric Sliding Door
Model: Chrysler Grand Voyager
MK 4
- Years 2001-2007
If you have issues with the electric sliding door not opening fully, the cause may be a worn electrical cable. To address this, first remove the plastic cover of the support as shown in the video. All cables pass inside a flexible sheath like a chain running under the door. By acting on the tab, detach the sheath from its housing. Then disconnect the electrical connector at the back of the door for better handling and inspection of the cables. For this operation, it is advisable to partially close the door for better access to the connector and detach it by acting on the tab. Use a screwdriver to unlock the latch inside the connector. With a blade, detach the tie that holds the cables along the edge of the door. Also, remove any tape around the cables that you will replace during reassembly. With a bit of patience, open each link of the sheath so that all cables are clearly visible. Once you identify the broken cable, strip the two ends to reconnect. Thread a piece of heat-shrink tubing along the cable. Join the ends by hand and then with a bit of solder. Position the heat-shrink tubing over the joint and heat it. Reattach the connector to the door to verify functionality and reassemble everything as it was originally. Car model: Chrysler Grand Voyager
Required tools: flathead screwdriver, bodywork tool or similar for trim clips, heat-shrink tubing, and possibly a soldering iron.
Updated on 10 February 2026 by ScegliAuto
Video tutorial
Related tutorials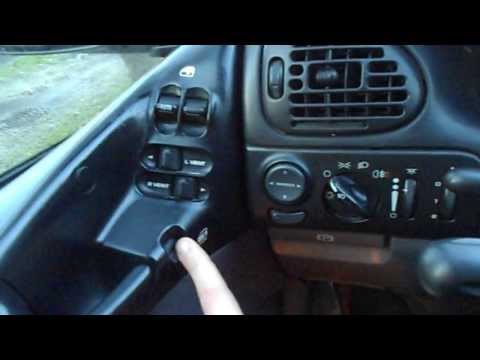
Chrysler Grand Voyager
(1996-2000 /
)
If you are purchasing a used car with many electric accessories, it is essential to ensure everything functions correctly, especially if it is an old…

Chrysler Grand Voyager
(2001-2007 /
MK 4)
Today's guide will show us the steps on how to disassemble and replace the interior ceiling or roof lining of the Chrysler Grand Voyager. First, we w…

Chrysler Grand Voyager
(2001-2007 /
MK 4)
To change the brake discs, you need to remove the caliper. The caliper can be fixed or sliding. When it is fixed, completely remove the two securing …
Other guides you may be interested in
|
Timing Belt Replacement on Audi Q5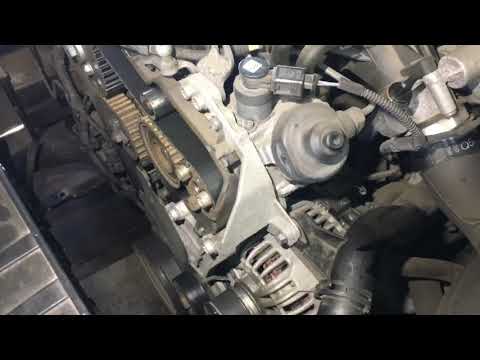
The timing belt on the Audi Q5 has reached its mileage limit, so what should you do? Let's go through the removal of the belts on the Q5. Open and lift the hood of the engine, then remove the engine soundproofing panel. Once these steps are completed, remove the plastic covers of the belts located on the left side of the engine. Loosen the second tensioner and slide the belt out of its seat. After installing the new belt, use a wrench to install the tensioner pulley, and tighten it until the belt has the correct tension (install both belts). Reinstall the covering plastics. Start and test the Audi Q5 engine. by ScegliAuto More videos
|
|
For advertising on this site Write to info@scegliauto.com
ScegliAuto is not responsible for any inaccuracy of the data in the lists. To report any inaccuracy or your business (if you own the business in question), please write to info@scegliauto.com
Number of seconds to generate the page: 0.051
(c) ScegliAuto 2026 - info@scegliauto.com - Privacy policy VAT number: IT01247470535 |