
|
Do it yourself
| |||
| ||||


How to Disable the ESP on a Dacia Sandero Stepway
Model: Dacia Sandero
MK 3
- Years 2021-2026
In this video, you will see how to disable the ESP/TSC on a Dacia Sandero by safely installing a switch with a relay. A simple switch is not sufficient, as the current passing through the ESP fuse is 50 Amperes, and a normal switch would melt, causing short circuits and fire risks. Therefore, the correct solution is to install it with a relay. Connect a thick wire from the ESP fuse to terminal 30 of the relay; another thick wire from terminal 87a to the original ESP circuit. These wires must be very short, as they carry 50 A; then take a +12V from the same ESP fuse or from the battery and connect it to terminal 86 of the relay. From terminal 85 of the relay, run a thin wire into the cabin. Inside, connect this wire to the switch, and from the other end of the switch, connect it to the chassis (ground). Find a passage in the bulkhead between the engine and cabin and reach under the dashboard on the driver's side. Choose a comfortable position (but not too visible), drill if necessary, mount the switch, and connect the two wires (the one coming from the relay and the one going to ground). It works like this: switch OFF (circuit ground open) the relay remains closed and the ESP functions normally. Switch ON (ground connected) the relay coil energises, opens the contact interrupting the ESP fuse and thus the system is disabled.
Posted on 27 February 2026 by ScegliAuto
Video tutorial
Related tutorials
Dacia Sandero
(2012-2020 /
B8)
Before you begin, sit in the driver's seat of your Dacia Sandero Stepway. Start by repeatedly pressing the button located at the end of the right ind…

Dacia Sandero
(2021-2026 /
MK 3)
In this video we can see how to permanently deactivate the start & stop system on the Dacia Sandero Stepway. If we wanted to deactivate it only for t…
Dacia Sandero
(2012-2020 /
B8)
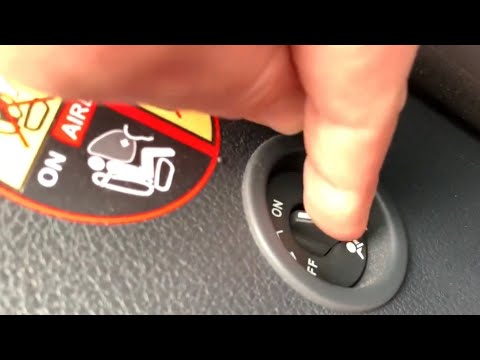
This tutorial shows how to deactivate and reactivate the passenger airbag in a Dacia Sandero Stepway, a procedure to be performed whenever a rear-fac…
Other guides you may be interested in
|
How to change the time on a Toyota Yaris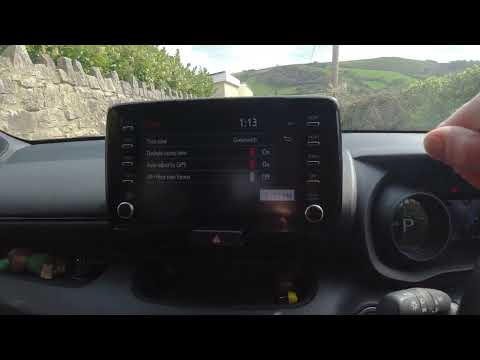
In this video we see how to change the time on a Toyota Yaris, specifically when it comes to switching from daylight saving time to standard time and vice versa. We go to the multifunction screen and press "settings": from there we go to press the clock, simply click on daylight saving time, and the clock will change the time for us, without doing anything else. All we want to do is just adjust the time format to 12 or 24 hours, as is customary in the area where we live: for example in Anglo-Saxon countries it is common to set the time to 12 hours, while in the European Union it is normally set to 24 hours. by ScegliAuto More videos
|

|
For advertising on this site Write to info@scegliauto.com
ScegliAuto is not responsible for any inaccuracy of the data in the lists. To report any inaccuracy or your business (if you own the business in question), please write to info@scegliauto.com
Number of seconds to generate the page: 0.117
(c) ScegliAuto 2026 - info@scegliauto.com - Privacy policy VAT number: IT01247470535 |
