
|
Do it yourself
| |||
| ||||


Dodge Charger - Video tutorial
Model: Dodge Charger
LX
- Years 2006-2011 The auxiliary belt tensioner has the function of maintaining the belt tension through a spring system; to be able to replace it, it is first necessary to loosen the tension of the spring in order to remove the auxiliary belt from the pulleys; at this point it is possible to unscrew the fastening pin of the tensioner and that of the transmission pulley (it is always advisable to replace both) in order to remove them; then apply the new tensioner by inserting the appropriate centering pin in its seat and then tightening the fixing pin; then install the new pulley and apply the new auxiliary belt.
Posted on 27 August 2023 by ScegliAuto
 Timing belt diagram and replacement.
Dodge Charger (2006-2011 / LX) For this operation we must identify the position of the timing belt. The video shows operations on an engine removed from its housing just for conven 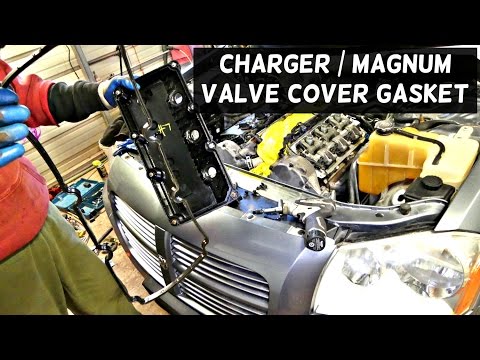 Engine head gasket replacement
Dodge Charger (2006-2011 / LX) Overheating is the main cause of damage to the engine head gasket. The following guide gives us useful information on how to replace it. First of all 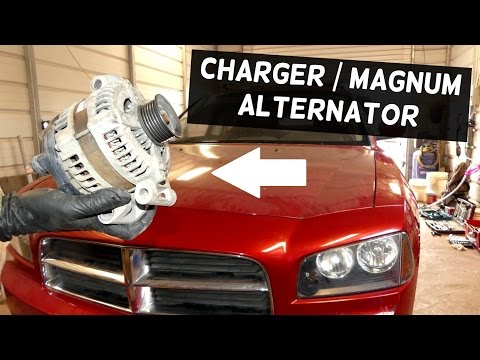 Alternator replacement instructions
Dodge Charger (2006-2011 / LX) If after starting the engine the warning light with the battery symbol remains on, it is likely that the alternator has been damaged and will no long Other guides that may interest you |
How do you replace the horn on the Citroà «n Berlingo?
In order to replace the horn on the Citroà «n Berlingo, the vehicle must be raised so that the screws that secure the left front wheel can be loosened and removed completely. Once this wheel has been removed, it will be possible to access the screws that secure the internal cover of the corresponding wheel arch: this will have to be detached and it will be possible to access the components inside, including the horn. This will need to be disconnected from its connector and removed from its holders, so that it can be replaced with a new spare part. by ScegliAuto More videos
|
|
For advertising on this site Write to info@scegliauto.com
ScegliAuto is not responsible for any inaccuracy of the data in the lists. To report any inaccuracy or your business (if you own the business in question), please write to info@scegliauto.com
Number of seconds to generate the page: 0.026
(c) ScegliAuto 2024 - info@scegliauto.com - Privacy Policy VAT number: IT01247470535 |