
|
Do it yourself
| |||
| ||||


Replacing the Engine Cylinder Head Gasket
Model: Dodge Charger
LX
- Years 2006-2011
Overheating is the main cause of damage to the engine cylinder head gasket. The following guide provides useful instructions on how to replace it. First, drain the engine oil, remove the alternator belt and any accessory belts. The timing belt and engine block have two clearly visible reference marks; before removing the belt, ensure the two marks align perfectly. Pay particular attention during the tightening phase of the cylinder head with the new gasket against the cylinder block. To do this correctly, you will need a torque wrench to tighten the bolts to the correct torque value. At this point, you can replace the timing belt and reassemble everything.
Updated on 17 February 2026 by ScegliAuto
Video tutorial
Related tutorials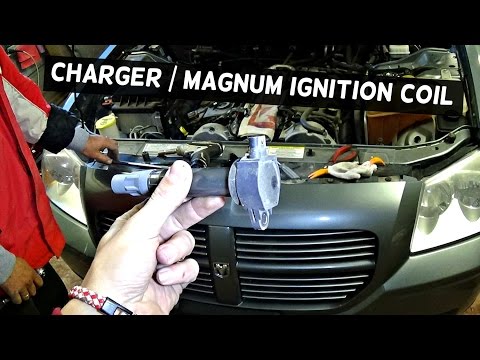
Dodge Charger
(2006-2011 /
LX)
If you experience engine starting issues or if the engine runs unevenly once started, it is likely that combustion is not occurring in some cylinders…
Dodge Charger
(2006-2011 /
LX)
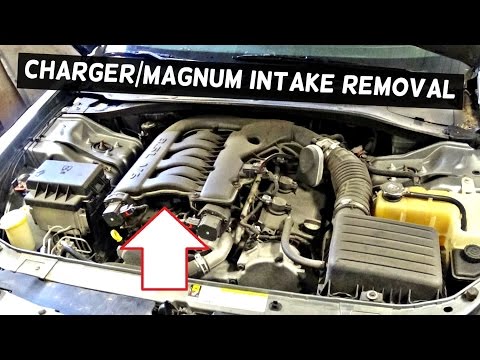
Replacing the engine air filter is a simple task that allows you to save money on mechanic fees if you do it yourself. This filter ensures that clean…
Dodge Charger
(2011-2023 /
LD)
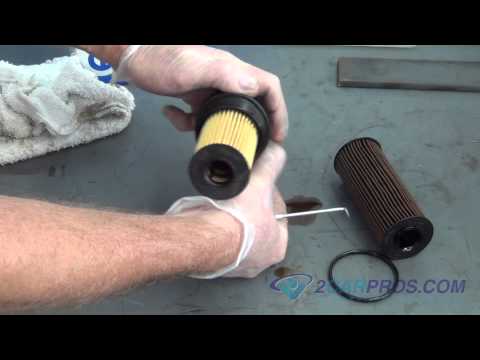
Lift the vehicle on a hydraulic ramp, remove the plastic protective cover, and unscrew the drain plug located on the side of the oil sump; once drain…
Other guides you may be interested in
|
How to Adjust the Brightness of the Instrument Cluster on a Peugeot 3008?
To adjust the brightness of the instrument cluster on a Peugeot 3008, you need to turn on the ignition and access the settings via the menu located in the central area of the dashboard. In the screen that appears, select the "Display Configuration" option: now, by selecting the "Brightness" option, you can adjust it using the dedicated slider that will appear on the screen. The adjustment should be made with the headlights on as well as with them off. Once the adjustment is complete, you can turn off the instrument cluster. by ScegliAuto More videos
|
|
For advertising on this site Write to info@scegliauto.com
ScegliAuto is not responsible for any inaccuracy of the data in the lists. To report any inaccuracy or your business (if you own the business in question), please write to info@scegliauto.com
Number of seconds to generate the page: 0.759
(c) ScegliAuto 2026 - info@scegliauto.com - Privacy policy VAT number: IT01247470535 |
