
|
Do it yourself
| |||
| ||||


|
Model: Enfield Classic 350
To replace the position bulb on a Royal Enfield Classic 350, loosen the screw located immediately next to the position light, which is positioned at the top left of the front headlamp. Once this screw has been removed, you can detach the chrome trim that surrounds the light, pulling it out of its housing. After removing the light, disconnect the connector at its rear, pull out the bulb, and replace it with a new one. After the replacement, reconnect the light, insert it, and cover everything with the trim.
Updated on 10 June 2026 by ScegliAuto
Video tutorial
Related tutorials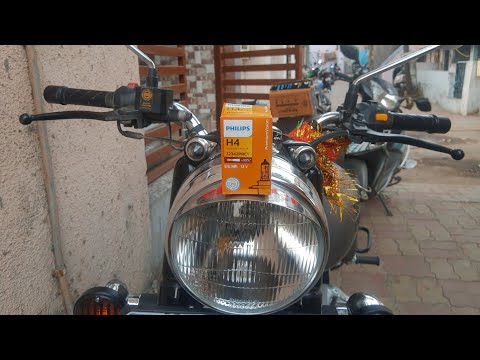
Classic 350
In this video tutorial, you will learn how to remove and replace the headlamp bulb on the Royal Enfield Classic 350 motorcycle. First, place your mot…
Classic 350
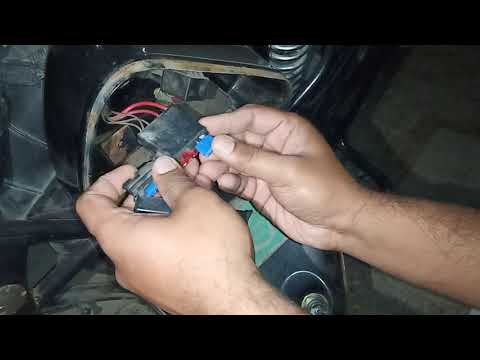
In this guide for Royal Enfield Classic 350 owners, we will discover where all the various fuses are located. First, ensure the motorcycle is complet…

Classic 350
To replace the front indicator bulb on a Royal Enfield Classic 350, loosen the screw located at the rear of the corresponding headlamp. Once this scr…
|
How to Replace the Front Bulb on the Honda SH 125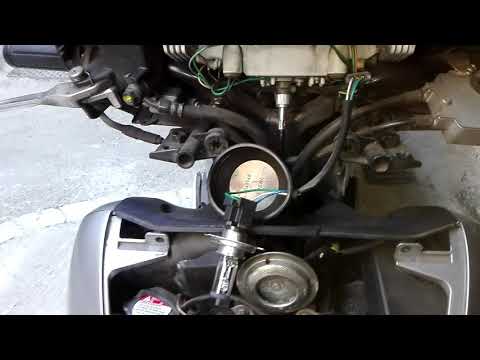
This tutorial explains the steps to replace the front headlamp bulb on the Honda SH 125. This is a very simple procedure. First, remove the front shield of the scooter to access the bulb replacement. To perform this first step, unscrew the lower screw and the two upper screws that secure the cover. At this point, the bulb will be clearly visible. Simply unscrew the bulb and insert a new one. It is recommended to carry out this procedure after ensuring that the bulb to be removed has cooled down. by ScegliAuto More videos
|
|
For advertising on this site Write to info@scegliauto.com
ScegliAuto is not responsible for any inaccuracy of the data in the lists. To report any inaccuracy or your business (if you own the business in question), please write to info@scegliauto.com
Number of seconds to generate the page: 0.007
(c) ScegliAuto 2026 - info@scegliauto.com - Privacy policy VAT number: IT01247470535 |
