
|
Do it yourself
| |||
| ||||


How to Replace the Rear Headlamp Bulb
Model: Ford Focus
MK 3
- Years 2011-2018
Replacing the rear headlamp bulb is one of the simple maintenance tasks. This guide shows how to carry out this replacement easily. You will need a new bulb and a screwdriver. First, remove the headlamp by unscrewing the two screws that attach the black plastic of the headlamp to the frame. Remove the screws and carefully extract the headlamp. Once completely separated, remove the plastic connector that joins the wires to the headlamp by lifting the plastic tab located at the bottom. Now unclip the four plastic tabs that secure the base where the bulbs sit to the rest of the headlamp and extract the base. Then insert the new bulb, ensuring that the two protrusions on the base fit into the appropriate slots, and then slightly rotate the bulb to secure it.
Updated on 20 February 2026 by ScegliAuto
Video tutorial
Related tutorials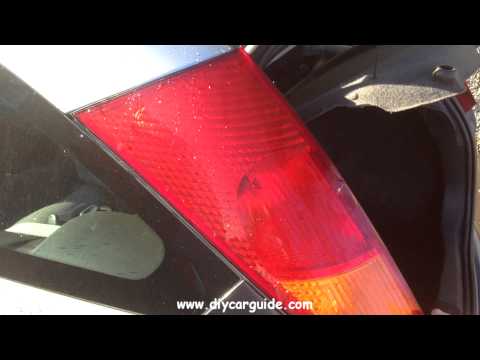
Ford Focus
(1998-2004 /
MK 1)
Open the rear bonnet and unscrew the headlight fixing screws: one is located along the inner edge of the bonnet and then, from inside the bonnet, the…

Ford Focus
(2004-2011 /
Focus 2, MK 2)
In this new guide dedicated to all of you who own a second series Ford Focus, we will discover how to correctly replace the headlight bulb. First of …
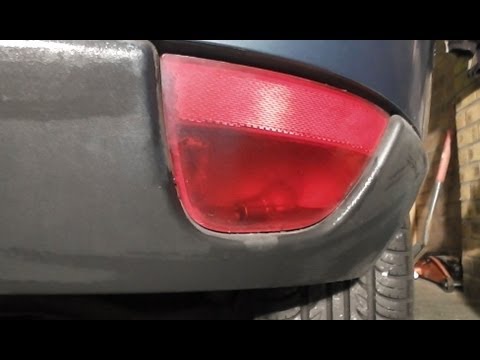
Ford Focus
(1998-2004 /
MK 1)
To replace the bulb of the rear fog light located at the bottom of the bumper, it is necessary to remove it from its housing: along the lower edge of…
Other guides you may be interested in |
How to Replace the Pollen Filter on a Jeep Renegade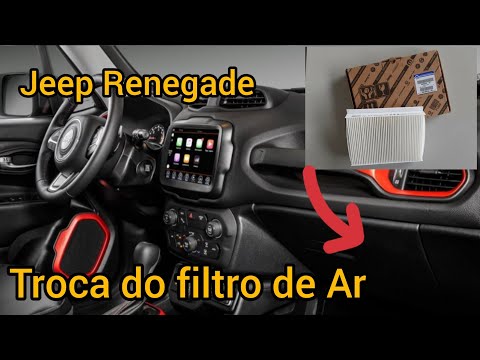
How to replace the pollen filter on a Jeep Renegade? Unscrew the screws located on the right side of the dashboard, then remove the glove compartment (as shown in the video). Using a screwdriver or cordless drill, remove the metal bar and the cover from the filter housing, then extract the worn cabin filter. Insert a new cabin filter ensuring it fits snugly around the walls of the housing, reattach the housing cover and tighten the screws (cover everything with the cloth placed under the dashboard). Check the correct installation of the previously mounted parts. by ScegliAuto More videos
|

|
For advertising on this site Write to info@scegliauto.com
ScegliAuto is not responsible for any inaccuracy of the data in the lists. To report any inaccuracy or your business (if you own the business in question), please write to info@scegliauto.com
Number of seconds to generate the page: 0.044
(c) ScegliAuto 2026 - info@scegliauto.com - Privacy policy VAT number: IT01247470535 |