
|
Do it yourself
| |||
| ||||


Gmc Sierra automatic transmission oil filter and gaskets replacement
Model: GMC Sierra
MK 5
- Years 2019-2026
The maintenance of the automatic gearbox is essential to preserve its duration and efficiency; in the case of the GMC Sierra it will start with the disassembly of the cup on the bottom of which is the emery collection magnet which must be clearly removed for a thorough washing; the filter, gaskets and springs of the actuators will be replaced which, being constantly stressed, should be replaced; at the end of the installation of all the spare parts of the kit it will be necessary to refill the gearbox with the special oil, taking care to check the level.
Posted on 17 June 2022 by ScegliAuto
Video tutorial
Related tutorials
GMC Sierra
(2007-2014 /
MK 3)
The GMC Sierra engine oil change is performed by accessing the lower part of the engine compartment, where the oil tank drain plug will be located. B…
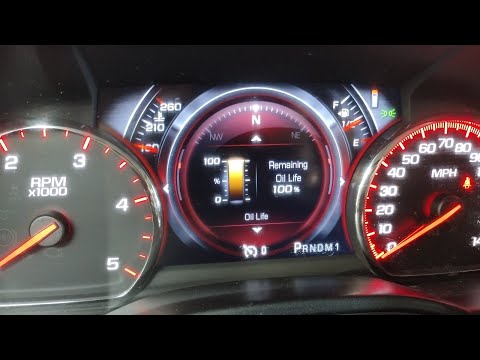
GMC Sierra
(2014-2018 /
MK 4)
If when you turn on your 2016 GMC Sierra you notice the engine oil light staying on despite having already changed the fluid and filter then all you …
GMC Sierra
(1999-2007 /
MK 2)
Resetting the oil service in the GMC Sierra is very simple, let's see how to proceed in this tutorial. Obviously, this operation must be carried out …
Other guides you may be interested in
|
How to Remove the Door Panel on Volkswagen Golf 4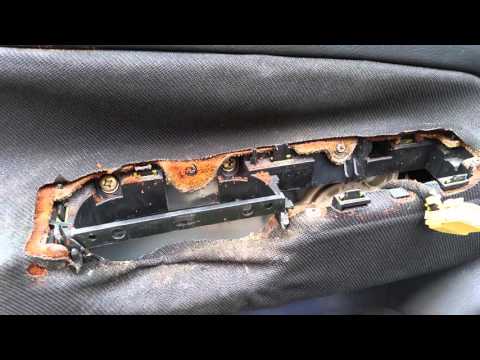
Removing the door panel on a Volkswagen Golf 4 is a relatively simple task that, with the help of a few screwdrivers and some manual skills, should not require a professional's intervention. First, remove the courtesy light located at the bottom of the panel; to do this, gently pry with a flathead screwdriver between the light and the panel. After removing the courtesy light, you can proceed to take off the plastic part of the armrest where the window controls are located. This will be clipped in place, and to remove it, you will need to pry at the plastic cover that conceals the inner part of the handle. Once the cover is removed, you can extract the entire plastic part from its seat, which will still be connected to the door via the window control connector; this must be disconnected to fully remove the piece from the panel. Inside the window control housing, you will notice three screws that secure the panel to the door, which must be removed to continue. After removing the three screws, remove another four screws located around the perimeter of the panel. The first will be on the side of the panel where the door hinges are located, and after removing it, you can proceed to take out the last three screws located at the bottom of the panel. Now there will be no more screws securing the panel, which will be attached to the door only by plastic clips. To detach the plastic clips, simply pry between the door and the panel along the entire side and bottom perimeter. Once all the clips are released, lift the panel upwards to detach it from the rail connection at the top. The panel will now be detached from the door, but to remove it completely, you will need to disconnect the bar that connects the opening handle and unplug the various power connectors attached to the panel. by ScegliAuto More videos
|

|
For advertising on this site Write to info@scegliauto.com
ScegliAuto is not responsible for any inaccuracy of the data in the lists. To report any inaccuracy or your business (if you own the business in question), please write to info@scegliauto.com
Number of seconds to generate the page: 0.063
(c) ScegliAuto 2026 - info@scegliauto.com - Privacy policy VAT number: IT01247470535 |