
|
Do it yourself
| |||
| ||||


|
Model: Harley Davidson Street Glide
In this guide, we will go over the instructions that will allow us to disassemble and possibly replace (or repair) the fuel tank of the Harley Davidson Street Glide motorcycle. First, we put the motorcycle on a stand and begin by removing the rider's and passenger's seats; then, we proceed to unscrew all the fastening screws found on the sides, disconnecting the fuel lines and the electrical connector to completely remove the tank, as shown in the video. At this point, we carry out the repair or replacement of the tank, applying the reverse procedure for reassembly!
Posted on 22 December 2025 by ScegliAuto
Video tutorial
Related tutorials
Street Glide
Today, let's see the step-by-step instructions that will allow us to disassemble and replace the front headlight of the Harley Davidson Street Glide …

Street Glide
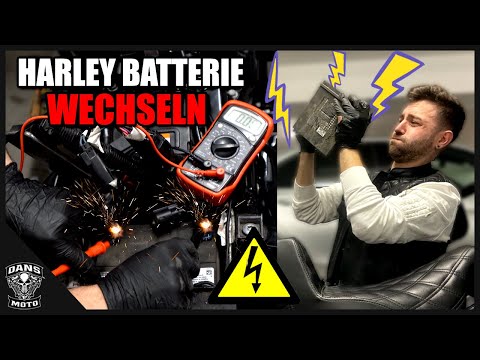
Today, we will see in this video tutorial how to remove and replace the battery of the Harley Davidson Street Glide motorcycle by following these sim…
Street Glide
Let's briefly go through the instructions for removing and replacing the battery on the Harley Davidson Street Glide. First, place the motorcycle on …
|
How to replace the brake pads of the Ducati Monster 620?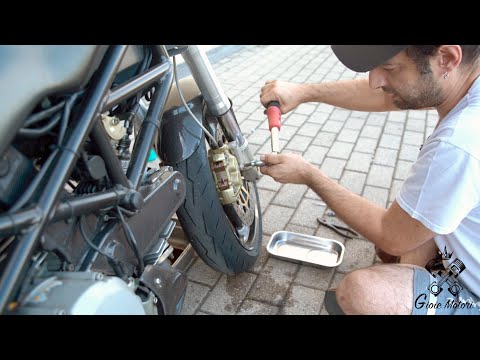
To replace the brake pads of the Ducati Monster 620, loosen the screws that secure the brake calipers to their housing: these will be located on the sides of the calipers themselves. Once these are released, you can detach the caliper from the disc to remove the pads inside; after the old pads have been removed, insert the new ones into the caliper, securing them with the appropriate pin. After installing the pads, reattach the calipers to their position. by ScegliAuto More videos
|
|
For advertising on this site Write to info@scegliauto.com
ScegliAuto is not responsible for any inaccuracy of the data in the lists. To report any inaccuracy or your business (if you own the business in question), please write to info@scegliauto.com
Number of seconds to generate the page: 0.006
(c) ScegliAuto 2026 - info@scegliauto.com - Privacy policy VAT number: IT01247470535 |
