
|
Do it yourself
| |||
| ||||


Harley Davidson Street Glide - Video guides Harley Davidson Street Glide
 How to Replace the Remote Battery on the Harley-Davidson Street Glide? In this tutorial, you will see how to replace the battery in the remote for the Harley-Davidson Street Glide, a very simple and quick operation. You will need …Read all… Posted on 26 August 2026 by ScegliAuto  Harley Davidson Street Glide
 How to Replace the Front Headlight on the Harley-Davidson Street Glide? This tutorial demonstrates how to replace the front headlight on the Harley-Davidson Street Glide, a very simple and quick operation. First, ensure the …Read all… Posted on 22 August 2026 by ScegliAuto  Harley Davidson Street Glide
 How to Check the Engine Oil Level on a Harley-Davidson Street Glide? In this tutorial, we will see how to check the engine oil level on a Harley-Davidson Street Glide, a very simple and quick operation to perform regularly. …Read all… Posted on 17 July 2026 by ScegliAuto  Harley Davidson Street Glide
 How to remove the gas tank from the Harley Davidson Street Glide. In this guide, we will go over the instructions that will allow us to disassemble and possibly replace (or repair) the fuel tank of the Harley Davidson Street …Read all… Posted on 22 December 2025 by ScegliAuto  Harley Davidson Street Glide
 How do you replace the rear shock absorber of the Harley Davidson Street Glide? To replace the rear shock absorber of the Harley Davidson Street Glide, you need to loosen the screws that hold it to its housing: this can be found on the …Read all… Posted on 21 October 2025 by ScegliAuto  Harley Davidson Street Glide
 How to replace the grips on the Harley Davidson Street Glide The instructions in this guide will show us how to disassemble and replace the handlebar grips of the Harley Davidson Street Glide motorcycle. First, we put …Read all… Posted on 1 June 2025 by ScegliAuto  Harley Davidson Street Glide
 How to replace the front headlight of the Harley Davidson Street Glide Today, let's see the step-by-step instructions that will allow us to disassemble and replace the front headlight of the Harley Davidson Street Glide …Read all… Posted on 8 December 2024 by ScegliAuto  Harley Davidson Street Glide
 How do you replace the muffler of the Harley Davidson Street Glide? The procedure for replacing the muffler of the Harley Davidson Street Glide is done by loosening the support screws that fix the muffler along the entire right …Read all… Posted on 30 October 2024 by ScegliAuto  Harley Davidson Street Glide
 How do you replace the brake pads on the Harley Davidson Street Glide? The replacement of the brake pads on the Harley Davidson Street Glide can be done by loosening the screws that secure the brake caliper to the corresponding …Read all… Posted on 11 July 2024 by ScegliAuto  Harley Davidson Street Glide
 How do you replace the rear brake pads of the Harley Davidson Street Glide? In order to replace the rear brake pads of the Harley Davidson Street Glide, you need to loosen the screw that secures the rear brake caliper to the …Read all… Posted on 30 June 2024 by ScegliAuto  Harley Davidson Street Glide
 How to replace the engine oil in the Harley-Davidson Street Glide? In this tutorial we can see how to replace the engine oil in the Harley-Davidson Street Glide, an extremely simple and quick operation. First of all, we wait …Read all… Posted on 7 June 2024 by ScegliAuto 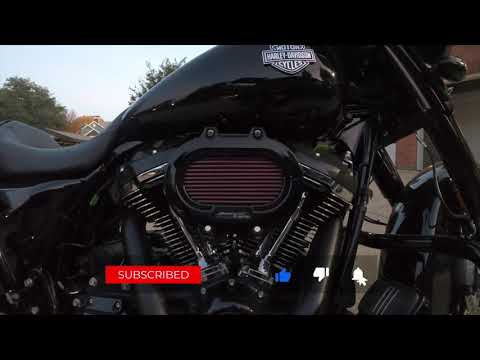 Harley Davidson Street Glide
 How to Replace the Air Filter on the Harley Davidson Street Glide To replace the air filter on the Harley Davidson Street Glide, loosen the screws securing the air filter to its housing located on the right side of the bike, …Read all… Posted on 11 September 2026 by ScegliAuto 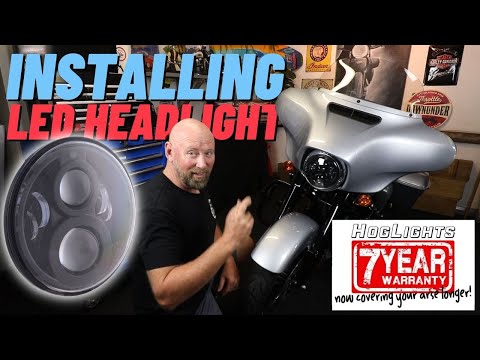 Harley Davidson Street Glide
 How to Replace the Headlamp Bulb on a Harley-Davidson Street Glide Special? As shown in this tutorial, replacing the headlamp bulb on a Harley-Davidson Street Glide Special is an extremely simple and quick task. First, ensure the key …Read all… Posted on 31 August 2026 by ScegliAuto 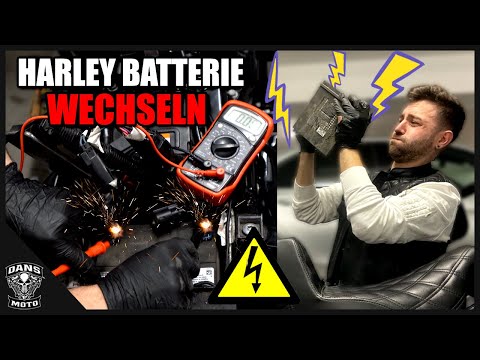 Harley Davidson Street Glide
 Replacing the Battery on a Harley Davidson Street Glide Let's briefly go through the instructions for removing and replacing the battery on the Harley Davidson Street Glide. First, place the motorcycle on a stand …Read all… Posted on 31 August 2026 by ScegliAuto 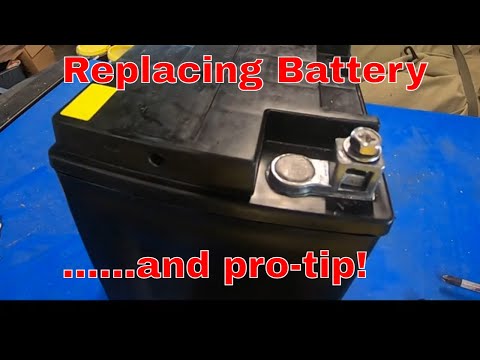 Harley Davidson Street Glide
 How to replace the battery on the Harley Davidson Street Glide? To replace the battery on the Harley Davidson Street Glide, loosen the screws that secure the seat to its housing so that it can be completely removed. After …Read all… Posted on 2 August 2026 by ScegliAuto 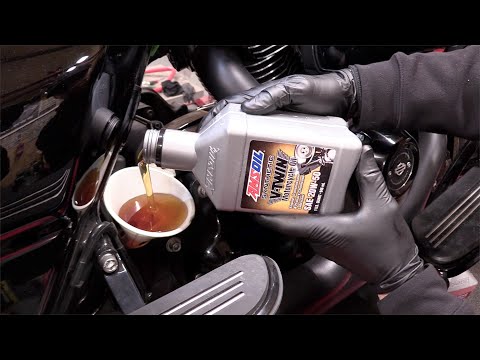 Harley Davidson Street Glide
 How to Change the Engine Oil and Oil Filter on the Harley Davidson Street Glide Engines generally require regular maintenance, which should be performed at regular intervals; here’s how to change the engine oil and oil filter on the …Read all… Posted on 9 July 2026 by ScegliAuto  Harley Davidson Street Glide
 Replacing the Rear Light on a Harley Davidson Street Glide In today's tutorial video, we will see how to remove and replace the rear light on a Harley Davidson Street Glide in simple and quick steps. First, place your …Read all… Posted on 24 September 2026 by ScegliAuto 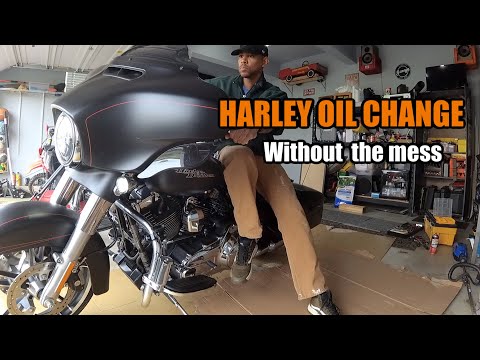 Harley Davidson Street Glide
 How to Service the Harley Davidson Street Glide This guide covers the main steps to perform a routine service on the Harley Davidson Street Glide, including changing the engine oil and oil filter. First, …Read all… Posted on 9 September 2026 by ScegliAuto 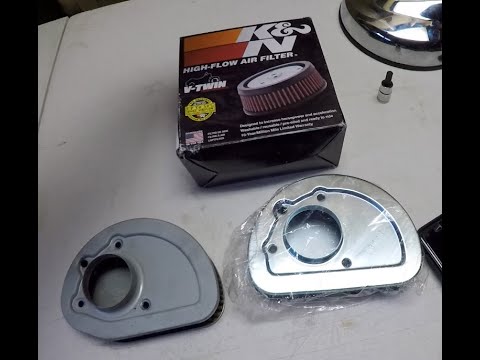 Harley Davidson Street Glide
 How to Replace the Air Filter of the Harley Davidson Street Glide To replace the air filter of the Harley Davidson Street Glide, you need to undo the central screw that secures the chrome cover on the right side of the bike: …Read all… Posted on 9 August 2026 by ScegliAuto 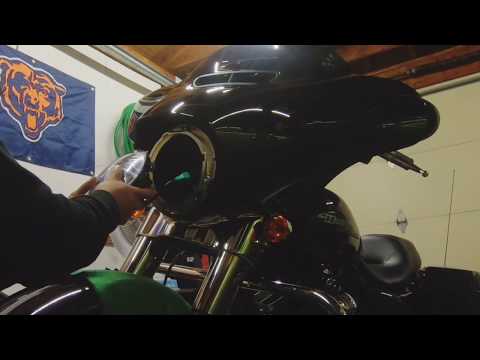 Harley Davidson Street Glide
 How to Replace the Headlight Bulb on a Harley Davidson Street Glide Follow this guide to remove and replace the headlight bulb on your Harley Davidson Street Glide. First, place your motorcycle on a stand and start unscrewing …Read all… Posted on 3 August 2026 by ScegliAuto |
See also:
How to Connect the Cables to the Battery of the Citroen Xsara Picasso?
In this tutorial, you will see how to connect the cables to the battery of the Citroen Xsara Picasso, useful if you need to recharge it or perform an emergency start. First, ensure the key is not inserted, then open the bonnet and move to the front of the left headlamp. Next, locate the bolt just behind the filter box and connect the positive terminal clamp to it. Now you can connect the negative terminal to any point on the chassis, such as the indicated point. Once the operation is complete, ensure you disconnect the negative first and then the positive. by ScegliAuto More videos
|
|
For advertising on this site Write to info@scegliauto.com
ScegliAuto is not responsible for any inaccuracy of the data in the lists. To report any inaccuracy or your business (if you own the business in question), please write to info@scegliauto.com
Number of seconds to generate the page: 0.008
(c) ScegliAuto 2026 - info@scegliauto.com - Privacy policy VAT number: IT01247470535 |
