
|
Do it yourself
| |||
| ||||


|
Model: Harley Davidson Street Glide
To replace the air filter on the Harley Davidson Street Glide, loosen the screws securing the air filter to its housing located on the right side of the bike, next to the fuel tank. By loosening these screws, you will be able to completely remove the air filter from its housing. After removal, position the new filter in its place. At this point, reinsert the screws to secure the filter, ensuring everything functions correctly.
Updated on 11 September 2026 by ScegliAuto
Video tutorial
Related tutorials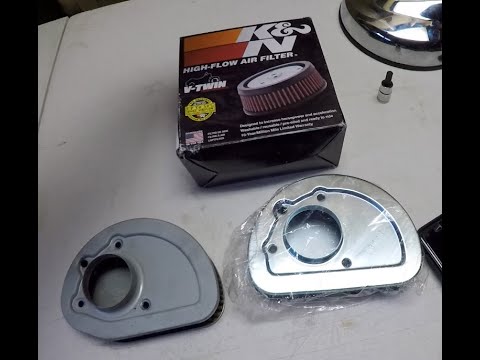
Street Glide
To replace the air filter of the Harley Davidson Street Glide, you need to undo the central screw that secures the chrome cover on the right side of …

Street Glide
To replace the rear shock absorber of the Harley Davidson Street Glide, you need to loosen the screws that hold it to its housing: this can be found …

Street Glide
The procedure for replacing the muffler of the Harley Davidson Street Glide is done by loosening the support screws that fix the muffler along the en…
|
How to Remove the Final Drive from a BMW R 1200 GS?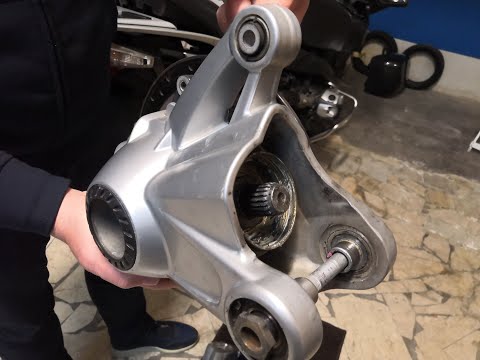
To remove the final drive from a BMW R 1200 GS, loosen the bolts securing the exhaust so it can be removed along with the rear wheel. The rear wheel will also be removed by unscrewing the five bolts that secure it to the swingarm. Next, detach the brake caliper by unscrewing the mounting bolts and remove the rear part of the swingarm. Inside, you will find the final drive, which should be extracted and replaced with a new spare part; after replacement, reassemble all previously removed components. by ScegliAuto More videos
|
|
For advertising on this site Write to info@scegliauto.com
ScegliAuto is not responsible for any inaccuracy of the data in the lists. To report any inaccuracy or your business (if you own the business in question), please write to info@scegliauto.com
Number of seconds to generate the page: 0.008
(c) ScegliAuto 2026 - info@scegliauto.com - Privacy policy VAT number: IT01247470535 |
