
|
Do it yourself
| |||
| ||||


|
Model: Harley Davidson Street Glide
In today's tutorial video, we will see how to remove and replace the rear light on a Harley Davidson Street Glide in simple and quick steps. First, place your bike on a stand and move to the rear; then use a socket and spanner to unscrew and remove the nuts found inside the wheel arch, at the height of the rear light, as shown in the video. At this point, disconnect the electrical connector to remove and replace the light with the new one; then reassemble everything, applying the reverse procedure!
Updated on 6 July 2026 by ScegliAuto
Video tutorial
Related tutorials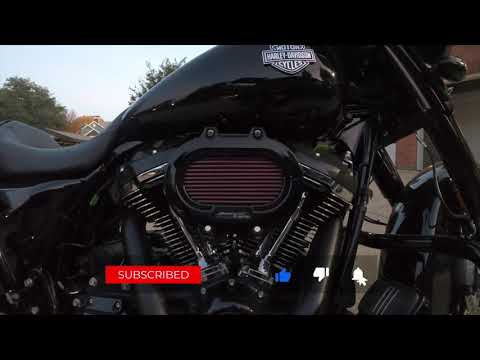
Street Glide
To replace the air filter on the Harley Davidson Street Glide, loosen the screws securing the air filter to its housing located on the right side of …

Street Glide
In this tutorial, you will see how to replace the battery in the remote for the Harley-Davidson Street Glide, a very simple and quick operation. You …

Street Glide
To replace the rear shock absorber of the Harley Davidson Street Glide, you need to loosen the screws that hold it to its housing: this can be found …
|
Where are the fuses located on the Piaggio Vespa GTS 125?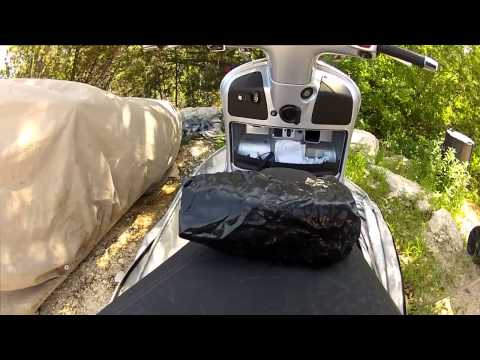
The fuses of the Piaggio Vespa GTS 125 are located inside the front fairing of the scooter: to access the fuse box, press the ignition switch fully. This will cause the panel located immediately below the ignition switch to open: the fuse box will be positioned inside this panel, in the upper left area. Inside the box, you will find the fuses that control the operation of the front headlamp, the horn, the ABS, etc. After removing the damaged old fuse, insert a new one with the same amperage. by ScegliAuto More videos
|
|
For advertising on this site Write to info@scegliauto.com
ScegliAuto is not responsible for any inaccuracy of the data in the lists. To report any inaccuracy or your business (if you own the business in question), please write to info@scegliauto.com
Number of seconds to generate the page: 0.006
(c) ScegliAuto 2026 - info@scegliauto.com - Privacy policy VAT number: IT01247470535 |
