
|
Do it yourself
| |||
| ||||


Replacing the Battery of the Harley Davidson Street Glide
Model: Harley Davidson Street Glide
Video tutorial
Today, we will see in this video tutorial how to remove and replace the battery of the Harley Davidson Street Glide motorcycle by following these simple steps. First, remove any side bag to access the motorcycle seat; then, you will find the battery underneath, as shown in the video. At this point, disconnect both battery terminals (positive and negative) using a 10 mm socket spanner; remove the battery and replace it with a new one of the correct type and with the same amperage as the original!
Updated on 10 May 2026 by ScegliAuto
Related tutorials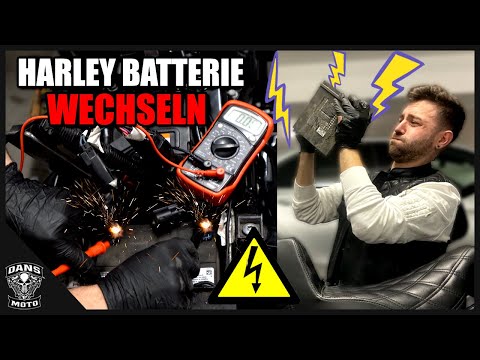
Street Glide
Let's briefly go through the instructions for removing and replacing the battery on the Harley Davidson Street Glide. First, place the motorcycle on …

Street Glide
In this tutorial, you will see how to replace the battery in the remote for the Harley-Davidson Street Glide, a very simple and quick operation. You …
Street Glide
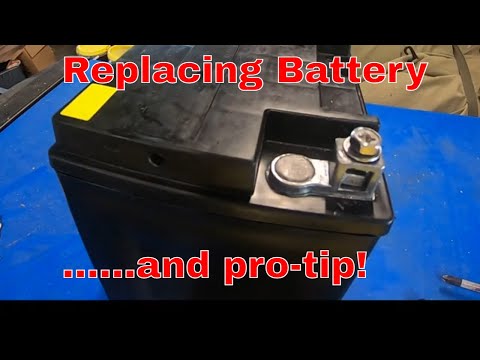
To replace the battery on the Harley Davidson Street Glide, loosen the screws that secure the seat to its housing so that it can be completely remove…
|
How to Set the Clock on the Sym Jet14 125?
To adjust the clock on the Sym Jet14 125, turn on the instrument panel by inserting the ignition key into the corresponding slot. Once the panel is on, press and hold the M button located underneath until one of the numbers on the clock starts flashing. At this point, repeatedly press the S button, also located beneath the panel, to change that number. After making the change, press the M button to move on to the next numbers, finishing by turning off the panel. by ScegliAuto More videos
|
|
For advertising on this site Write to info@scegliauto.com
ScegliAuto is not responsible for any inaccuracy of the data in the lists. To report any inaccuracy or your business (if you own the business in question), please write to info@scegliauto.com
Number of seconds to generate the page: 0.007
(c) ScegliAuto 2026 - info@scegliauto.com - Privacy policy VAT number: IT01247470535 |
