
|
Do it yourself
| |||
| ||||


|
Model: Harley Davidson Street Glide
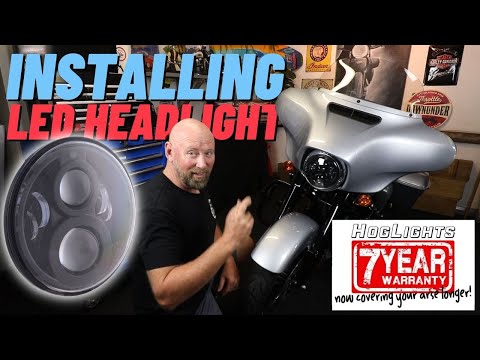
Follow this guide to remove and replace the headlight bulb on your Harley Davidson Street Glide. First, place your motorcycle on a stand and start unscrewing the fixing screws of the metal frame located on the sides of the headlamp; then remove the front headlight by disconnecting the electrical connector of the bulb, as shown in the video. At this point, replace the bulb with a new one by releasing the metal clip; install the light correctly and reassemble the optical unit, securing the metal frame with its screws!
Updated on 2 June 2026 by ScegliAuto
Video tutorial
Related tutorials
Street Glide
This tutorial demonstrates how to replace the front headlight on the Harley-Davidson Street Glide, a very simple and quick operation. First, ensure t…
Street Glide
As shown in this tutorial, replacing the headlamp bulb on a Harley-Davidson Street Glide Special is an extremely simple and quick task. First, ensure…

Street Glide
Unscrew the screw that secures the circular cover of the front headlight at the bottom. This will reveal the three cross-head screws that hold the he…
|
How to Replace the Windscreen of the Kymco CV3?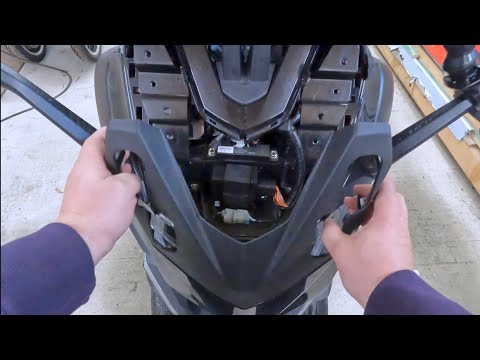
To replace the windscreen of the Kymco CV3, loosen the four screws located on the outer part of the windscreen: once these screws are loosened, you can completely detach the windscreen from its housing, allowing you to insert the new one. After installation, secure the new windscreen by reinserting the appropriate screws on the outer part; this way, ensure that the new replacement part is fitted correctly and does not cause any issues or difficulties while riding the scooter. by ScegliAuto More videos
|
|
For advertising on this site Write to info@scegliauto.com
ScegliAuto is not responsible for any inaccuracy of the data in the lists. To report any inaccuracy or your business (if you own the business in question), please write to info@scegliauto.com
Number of seconds to generate the page: 0.040
(c) ScegliAuto 2026 - info@scegliauto.com - Privacy policy VAT number: IT01247470535 |
