
|
Do it yourself
| |||
| ||||


|
Model: Harley Davidson Street Glide
Unscrew the screw that secures the circular cover of the front headlight at the bottom. This will reveal the three cross-head screws that hold the headlight in place. Once the headlight is free, pull it out of its housing, disconnect the rear connectors, remove the old bulb, and insert the new one you purchased (the video shows a LED bulb replacement). Reassemble everything in reverse order until the headlight and its circular cover are secured. This is a basic operation that does not require a trip to the garage.
Updated on 10 April 2026 by ScegliAuto
Video tutorial
Related tutorials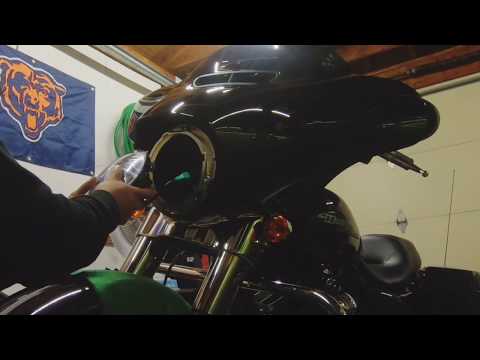
Street Glide
Follow this guide to remove and replace the headlight bulb on your Harley Davidson Street Glide. First, place your motorcycle on a stand and start un…
Street Glide
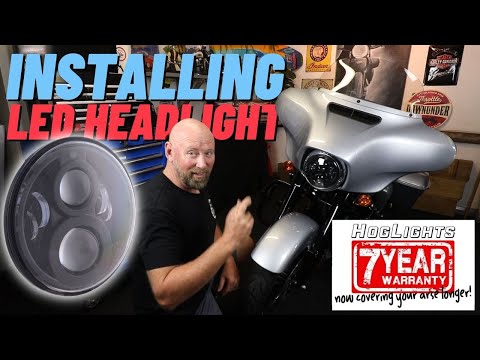
As shown in this tutorial, replacing the headlamp bulb on a Harley-Davidson Street Glide Special is an extremely simple and quick task. First, ensure…

Street Glide
Today, let's see the step-by-step instructions that will allow us to disassemble and replace the front headlight of the Harley Davidson Street Glide …
|
How do you replace the exhaust pipe of the GasGas MC 85?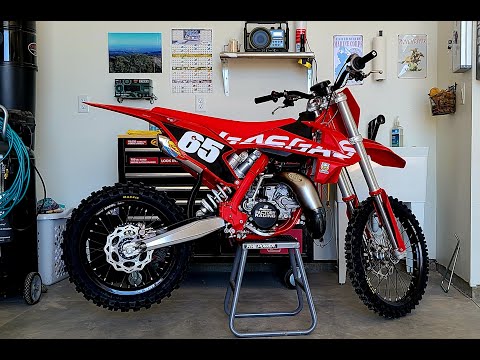
In order to replace the exhaust pipe of the GasGas MC 85, you need to loosen the screws that secure the side panel of the motorcycle, located near the fender. Once the fixing screws have been unscrewed, it will be possible to completely remove the panel so that you have access to the exhaust pipe underneath. This can now be freed from the fixing screws and the clamp attached to the manifold; once the old exhaust pipe has been removed, it can be completely detached so that the new one can be inserted, making sure that everything is functioning properly. by ScegliAuto More videos
|
|
For advertising on this site Write to info@scegliauto.com
ScegliAuto is not responsible for any inaccuracy of the data in the lists. To report any inaccuracy or your business (if you own the business in question), please write to info@scegliauto.com
Number of seconds to generate the page: 0.602
(c) ScegliAuto 2026 - info@scegliauto.com - Privacy policy VAT number: IT01247470535 |
