
|
Do it yourself
| |||
| ||||


How to replace the inspection plate of the distribution cover of the Honda Civic
Model: Honda Civic
MK 8
- Years 2006-2012
In this video we see how to replace a little-known component such as the inspection plate of the distribution cover: it is a removable section of the cover, which allows access to check the condition of the belt, tensioners and other components, without having to completely remove the cover, simplifying periodic maintenance operations. It is located on the right side of the engine, and we can find the spare part on hondaparthub.com with the code 15112-RNA-A00 at a price of $6.11 + unspecified shipping costs. The piece is held by three screws, very easy to reach; on the back we will find a gasket, which we will remove from the seat with a metal brush, being careful not to leave any traces. Then we spread the new sealant on the back of the plate and position it: we then tighten the three screws and the operation is complete.
Posted on 7 April 2025 by ScegliAuto
Video tutorial
Related tutorials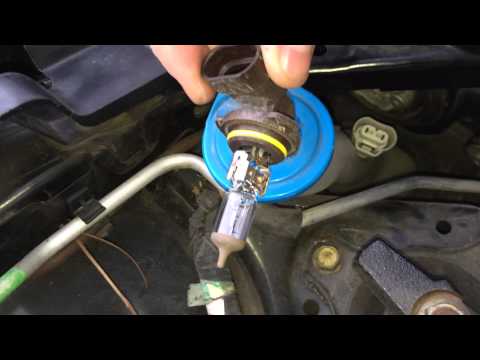
Honda Civic
(2001-2006 /
MK 7)
Replacing the front headlamp bulbs on a Honda Civic? Let’s go through the disassembly of the components. Lift the front bonnet and detach the water r…

Honda Civic
(2016-2021 /
MK 10)
In order to replace the motor oil of the Honda Civic, you need to loosen the screws that secure the plate in the lower part of the engine compartment…

Honda Civic
(2012-2015 /
MK 9)
In today's video, we will see how to reset the inspection on a Honda Civic FK8, a 9th series model produced from 2009 to 2015. We start the operation…
Other guides you may be interested in
|
How to Connect the Cables to the Battery of the Citroen Xsara Picasso?
In this tutorial, you will see how to connect the cables to the battery of the Citroen Xsara Picasso, useful if you need to recharge it or perform an emergency start. First, ensure the key is not inserted, then open the bonnet and move to the front of the left headlamp. Next, locate the bolt just behind the filter box and connect the positive terminal clamp to it. Now you can connect the negative terminal to any point on the chassis, such as the indicated point. Once the operation is complete, ensure you disconnect the negative first and then the positive. by ScegliAuto More videos
|

|
For advertising on this site Write to info@scegliauto.com
ScegliAuto is not responsible for any inaccuracy of the data in the lists. To report any inaccuracy or your business (if you own the business in question), please write to info@scegliauto.com
Number of seconds to generate the page: 0.068
(c) ScegliAuto 2026 - info@scegliauto.com - Privacy policy VAT number: IT01247470535 |
