
|
Do it yourself
| |||
| ||||


Replacement of Oil Sump Gasket
Model: Honda Civic
MK 6
- Years 1995-2001
Open the front bonnet and ensure it is securely supported; it is advisable to carry out this repair with the engine cold to avoid unpleasant burns. To remove the oil sump, you must first remove the exhaust manifold. Unscrew all the bolts securing the exhaust manifold, disconnect the lambda sensor plug, and unscrew the sensor from the manifold. Then, place a jack at the front (in front of the exhaust manifold) and lift the vehicle: apply axle stands for safety. At this point, unscrew the flange bolts that couple the exhaust manifold to the exhaust system, and returning to the engine bay, remove the manifold by sliding it out from below. Now you can drain the engine oil by unscrewing the drain plug on the oil sump (the oil filter should also be replaced) and then proceed with removing the sump itself by removing the bolts along the edges. Once the oil sump is removed, detach the old gasket from the edge, clean it thoroughly, apply gasket sealant, and fit the new gasket ensuring it adheres properly (apply sealant to the other side of the gasket as well). Reassemble the sump by tightening the respective fixing bolts; reassemble the manifold (applying sealant to the respective gasket), the lambda sensor, and fill the engine with new oil according to the SAE specifications and the quantities indicated in the user manual.
Updated on 4 February 2026 by ScegliAuto
This video is currently unavailable
Related tutorials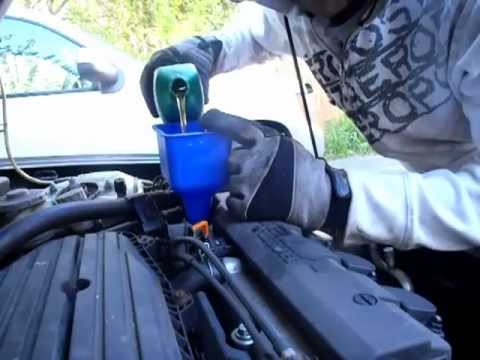
Honda Civic
(2006-2012 /
MK 8)
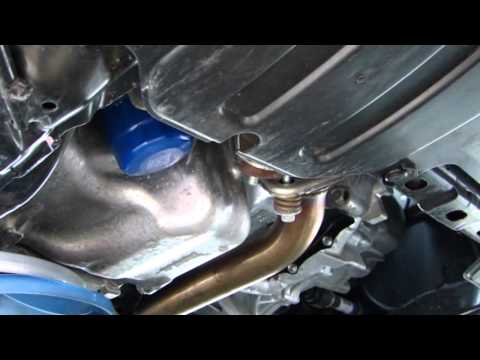
Lift the vehicle with a jack and use axle stands to support it. Then, unscrew the drain plug from the oil sump (located at the rear of the sump, near…

Honda Civic
(2012-2015 /
MK 9)
Lift the vehicle on suitable axle stands and position a container for collecting used oil under the oil sump: then undo the drain plug and wait for t…
Honda Civic
(2006-2012 /
MK 8)
Drive the front wheels of the vehicle onto suitable ramps to facilitate access to the oil sump; place a wedge behind the rear wheel. Open the front b…
Other guides you may be interested in
|
How to Open the Bonnet on the Lancia Y
To open the bonnet on this vehicle, follow these simple instructions: first, open the driver's door and locate the lever positioned just below the dashboard, marked with an image of the vehicle with the bonnet open. Pull this lever towards you until you hear a "click" indicating the bonnet is released. Next, exit the cabin and stand in front of the bonnet to disengage the safety catch and complete the opening. To do this, slightly lift the bonnet, locate the yellow lever underneath, and pull it to the left to fully release and open the bonnet. by ScegliAuto More videos
|
|
For advertising on this site Write to info@scegliauto.com
ScegliAuto is not responsible for any inaccuracy of the data in the lists. To report any inaccuracy or your business (if you own the business in question), please write to info@scegliauto.com
Number of seconds to generate the page: 0.118
(c) ScegliAuto 2026 - info@scegliauto.com - Privacy policy VAT number: IT01247470535 |
