
|
Do it yourself
| |||
| ||||


Hyundai Elantra - Video tutorial
Model: Hyundai Elantra
HD, MK 4
- Years 2006-2010 In any case, the replacement of the timing belt requires a minimum of basic mechanical knowledge since a simple mistake could seriously compromise the engine. Then remove the protective cover of the toothed belt and intercept the timing references aligning them perfectly; then remove the casing from under the wheel arch to access the crankshaft pulley and the auxiliary belt tensioner: loosen the tensioner to extract the auxiliary belt and remove the crankshaft pulley. Then disassemble the lateral engine support to complete the disassembly of the toothed belt and its tensioner. Then proceed with the replacement of the tensioner and the belt and reassemble everything in the reverse order.
Posted on 3 August 2023 by ScegliAuto
 Removing and replacing the timing belt and water pump
Hyundai Elantra (2006-2010 / HD, MK 4) This video shows us how to remove and replace the timing belt and water pump. When we decide to replace the timing belt it is highly advisable to rep  How to remove the timing belt on Hyundai Elantra
Hyundai Elantra (2015-2020 / MK 6) Do you want to remove the timing belt without spending money on labor? Let's see how to remove the timing belt on a Hyundai Elantra: open the engine 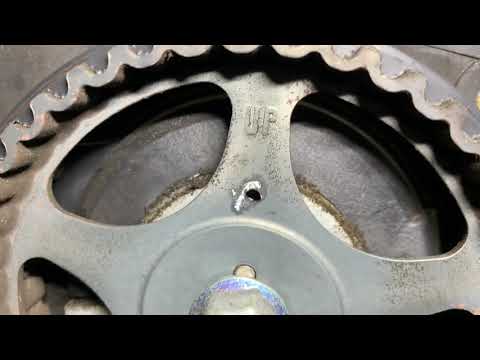 How do you replace the timing belt of the Hyundai Elantra?
Hyundai Elantra (2006-2010 / HD, MK 4) In order to replace the timing belt of the Hyundai Elantra, you need to loosen the screws that fix the cover on the left side of the engine block. On Other guides that may interest you
|
How to set the time in the Citroen DS3?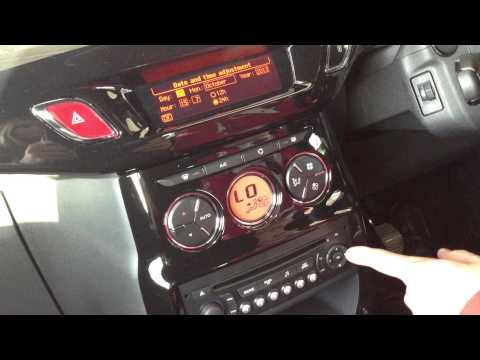
In this tutorial we can see how to set the time in the Citroen DS3, an extremely simple and fast operation, to be carried out for example after being left with the battery on the ground or following the transition to winter and summer time. First of all, turn on the instrument panel, then press the "Menu" button on the center console and enter the settings section. Then select "Display configuration", then "Date and time configuration" and proceed with the time change using the same keys. Once finished, we select "OK" at the bottom left. by ScegliAuto More videos
|
|
For advertising on this site Write to info@scegliauto.com
ScegliAuto is not responsible for any inaccuracy of the data in the lists. To report any inaccuracy or your business (if you own the business in question), please write to info@scegliauto.com
Number of seconds to generate the page: 0.043
(c) ScegliAuto 2024 - info@scegliauto.com - Privacy Policy VAT number: IT01247470535 |