
|
Do it yourself
| |||
| ||||


How to Change the Gearbox Oil on a Hyundai I35
Model: Hyundai ix35
MK 1
- Years 2009-2015
This tutorial shows how to change the engine gearbox oil on a Hyundai I35. It is recommended to change the oil every 37,282 miles; the amount of oil needed for the replacement is 2.1 litres, with a grade of SAE 75W-85 synthetic. You will need 250 g of additive and 1.85 litres of oil. Lift the car with a hydraulic jack and place axle stands and a tyre underneath for added safety; place a container for the used oil under the car near the oil drain hole. Use a 17 mm spanner to unscrew the nuts (one for the drain and the other for the fill). First, unscrew the drain nut and then the fill nut to ensure better oil drainage, and wait for all the oil to flow into the container. Once all the gearbox oil has drained into the container, screw the nuts back on and insert the tube into the gearbox fill hole, pouring the oil in along with the additive, using a funnel from above. Screw on the fill nut and you're done.
Updated on 14 July 2026 by ScegliAuto
Video tutorial
Related tutorials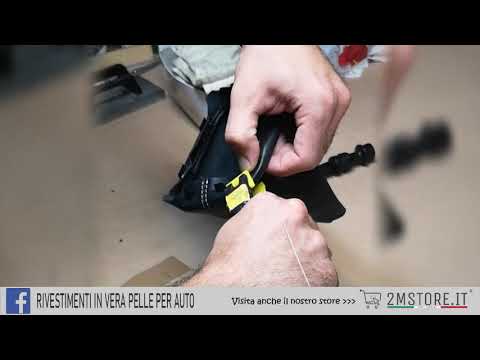
Hyundai ix35
(2009-2015 /
MK 1)
In today's video, you will learn how to replace the gear gaiter on the Hyundai IX35. First, unscrew the gear knob by turning it anti-clockwise while …

Hyundai ix35
(2009-2015 /
MK 1)
The oil used in this video is a 75W85 GL4; never use a GL5 as it can damage the synchronisers. Warm up the engine, loosen the filler cap located at t…
Hyundai ix35
(2009-2015 /
MK 1)
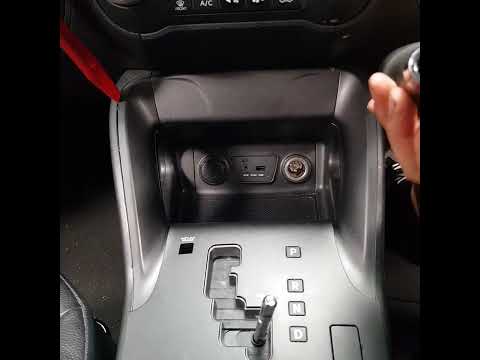
To replace the gear knob on the Hyundai IX35, grasp the old knob and disconnect the internal clips that secure it to the corresponding lever. Once th…
Other guides you may be interested in
|
How to Remove the Front Bumper of the Citroën C4 Picasso?
To remove the front bumper of the Citroën C4 Picasso, you need to take out all the rivets and screws that secure the piece to its housing: these screws are located inside the wheel arches of the front wheels and at the central upper part of the bumper itself. Once all these fastening elements have been removed, you can detach the bumper from its seat by disconnecting the connectors inside and then insert the new replacement part. The new part can then be secured and connected properly, ensuring it is correctly fixed in place. by ScegliAuto More videos
|

|
For advertising on this site Write to info@scegliauto.com
ScegliAuto is not responsible for any inaccuracy of the data in the lists. To report any inaccuracy or your business (if you own the business in question), please write to info@scegliauto.com
Number of seconds to generate the page: 0.507
(c) ScegliAuto 2026 - info@scegliauto.com - Privacy policy VAT number: IT01247470535 |
