
|
Do it yourself
| |||
| ||||


How to Change the Bulbs in the Rear Light Cluster of the Jeep Renegade
Model: Jeep Renegade
520, MK 1, BU
- Years 2014-2026
Accessing the rear light cluster of the Jeep Renegade is very easy. Open the boot and immediately notice the prominent plastic screw caps that provide access to the light clusters. From here, access a compartment where there are electrical connectors and a large screw. Simply unscrew that, and the light cluster comes away completely (of course, after disconnecting the connectors). Once you have the light cluster in hand, note that there are 4 screws you can unscrew to access the inside of the lamp and thus the bulbs. Make the necessary changes, and to put it back in place, simply reconnect the connectors, re-screw the large screw, and replace the rubber cap.
Updated on 12 June 2026 by ScegliAuto
Video tutorial
Related tutorials
Jeep Renegade
(2014-2026 /
520, MK 1, BU)
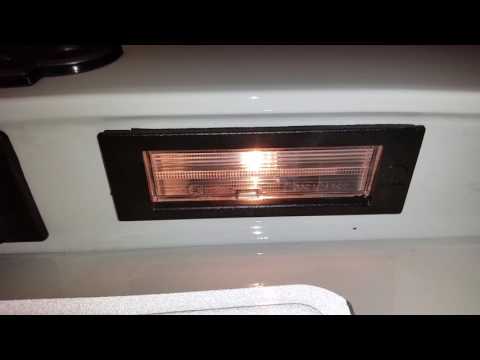
How do you replace the number plate light bulb on a Jeep Renegade? Use a screwdriver or plastic trim tool to remove the number plate light located in…
Jeep Renegade
(2014-2026 /
520, MK 1, BU)
In this video, learn how to replace the number plate bulbs on a Jeep Renegade. Use a screwdriver to remove the number plate light unit located in the…

Jeep Renegade
(2014-2026 /
520, MK 1, BU)
Learn how to replace the front headlight bulbs on a Jeep Renegade. Open the front bonnet by pulling the lever located at the bottom right of the dash…
Other guides you may be interested in
|
Frequently Asked QuestionsHow to Connect the Cables to the Battery of the Citroen Xsara Picasso?
In this tutorial, you will see how to connect the cables to the battery of the Citroen Xsara Picasso, useful if you need to recharge it or perform an emergency start. First, ensure the key is not inserted, then open the bonnet and move to the front of the left headlamp. Next, locate the bolt just behind the filter box and connect the positive terminal clamp to it. Now you can connect the negative terminal to any point on the chassis, such as the indicated point. Once the operation is complete, ensure you disconnect the negative first and then the positive. by ScegliAuto More videos
|

|
For advertising on this site Write to info@scegliauto.com
ScegliAuto is not responsible for any inaccuracy of the data in the lists. To report any inaccuracy or your business (if you own the business in question), please write to info@scegliauto.com
Number of seconds to generate the page: 0.259
(c) ScegliAuto 2026 - info@scegliauto.com - Privacy policy VAT number: IT01247470535 |
