
|
Do it yourself
| |||
| ||||


How to apply a bubble-free sticker on the Jeep Renegade
Model: Jeep Renegade
520, MK 1, BU
- Years 2014-2026
In this video, see how to apply the "lone Star" sticker on your Jeep Renegade, which looks great on this vehicle and adds character. Applying a sticker is always tricky as it’s easy to create air bubbles, especially with a larger sticker like this. Here’s how to do it. You will need a spray bottle with water and a few drops of washing-up liquid. Clean the surface where you will apply the sticker thoroughly, and before removing the wax paper that protects the sticker, use a spatula to smooth the sticker on a flat surface; measure to centre the sticker correctly, then secure it with masking tape. Now remove the paper from the sticker and cut part of it away. Apply the sticker with a spatula, working one centimetre at a time, then remove the masking tape and peel off the protective paper from the other half of the sticker, following the same method. Wait a few minutes and then slowly remove the application paper, taking care, and wipe with a soft cloth to finish the application.
Updated on 7 September 2026 by ScegliAuto
Video tutorial
Related tutorials
Jeep Renegade
(2014-2026 /
520, MK 1, BU)
Where is the sticker with the tire pressure, recommended by the Manufacturer, on the Jeep Renegade? We see it in this video. The sticker is located i…
Jeep Renegade
(2014-2026 /
520, MK 1, BU)
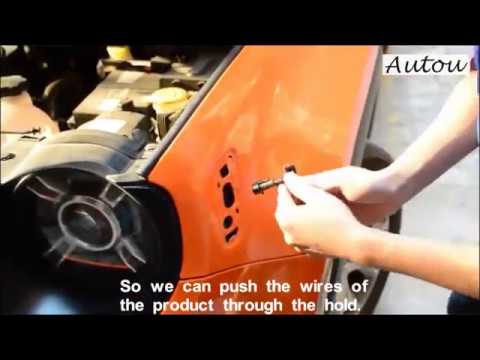
Before you can start, open the bonnet of your Jeep Renegade. Begin by releasing the internal clips that secure the front indicator to the vehicle, us…

Jeep Renegade
(2014-2026 /
520, MK 1, BU)
If you want to manually reset the oil light of your Jeep Renegade, all you have to do is follow all the steps described in this new guide. First of a…
Other guides you may be interested in
|
Frequently Asked QuestionsHow to Set the Clock on the Opel Zafira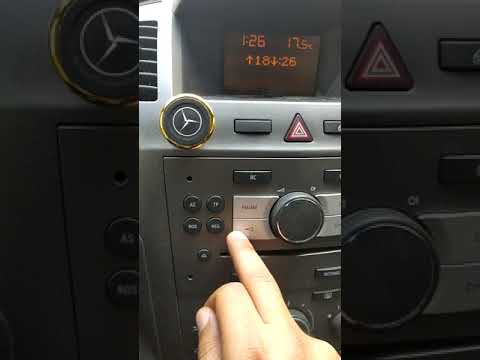
Setting the clock to the current Italian time on an Opel Zafira model B is a very simple operation, also made easier by our short instructional video. The first step is to turn on the instrument panel and then press the SETTING button located on the central dashboard. Once inside the menu, use the buttons to navigate to the clock setting. Adjust the hours and minutes and restart the instrument panel. If the clock does not update, it may be necessary to diagnose the radio or the vehicle's control unit. by ScegliAuto More videos
|

|
For advertising on this site Write to info@scegliauto.com
ScegliAuto is not responsible for any inaccuracy of the data in the lists. To report any inaccuracy or your business (if you own the business in question), please write to info@scegliauto.com
Number of seconds to generate the page: 0.286
(c) ScegliAuto 2026 - info@scegliauto.com - Privacy policy VAT number: IT01247470535 |
