
|
Do it yourself
| |||
| ||||


Model: Kawasaki Z900
In this video, we will show you how to clean the air filter of a Kawasaki Z900. First, remove the seat by pulling it out of the rubber grommets. Next, remove the fuel tank, starting from the bottom by unscrewing the two screws exposed after removing the seat, then the two visible screws on the outer side on both sides. After this, there are many clips that need to be removed carefully. There are also several screws around the frame that must be removed, as shown in detail in the video, and these must be removed from both sides. Essentially, you need to remove all the side finishing panels and any electrical connectors attached to them. Then, there are more screws securing the tank to the frame from the top. After that, disconnect the fuel lines and the electrical connectors that allow the fuel to circulate. You will now be facing the airbox, which must be opened by removing all the screws around it, but first, you need to remove the ECU and the relay unit. In front, there is a bracket holding several connectors in place; remove it carefully, and then you can finally take off the cover and remove the filter, which is a sports filter and therefore not replaced but cleaned with a specific spray, such as the code B003O2ZRRM on Amazon for £25.46 with free delivery for Prime customers.
Posted on 27 February 2026 by ScegliAuto
Video tutorial
Related tutorials
Z900
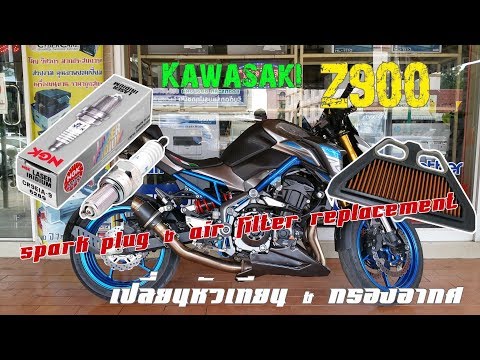
To replace the air filter on the Kawasaki Z900, remove all screws and bolts securing the various parts of the fairing, as indicated in the video. Onc…
Z900
This guide shows you how to remove and replace the engine spark plugs of the Kawasaki Z900. First, place the motorcycle on a stand and begin by remov…
Z900
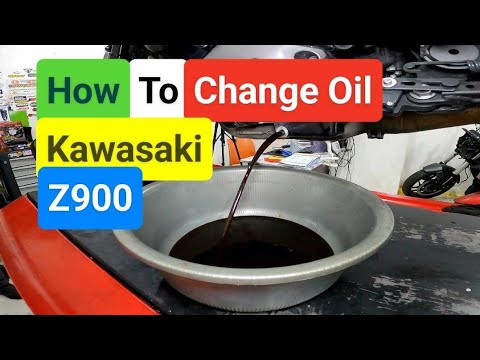
Regular maintenance is essential for the proper functioning of the engine; here’s how to perform it on the Kawasaki Z900. First, place the motorcycle…
|
Where to Find the Fuses of the Yamaha Xmax 300
This brief guide will illustrate the steps to access the fuse box of the Yamaha Xmax 300 scooter. First, put the central stand down and start unscrewing the screws and removing the plastic clips from the cover located under the instrument panel. Then, remove the front plastic to access the fuse box (by opening the small cover), as shown in the video. At this point, remove and replace any blown fuse, using the fuse diagram found in the vehicle's user and maintenance manual; then reassemble everything! by ScegliAuto More videos
|
|
For advertising on this site Write to info@scegliauto.com
ScegliAuto is not responsible for any inaccuracy of the data in the lists. To report any inaccuracy or your business (if you own the business in question), please write to info@scegliauto.com
Number of seconds to generate the page: 0.009
(c) ScegliAuto 2026 - info@scegliauto.com - Privacy policy VAT number: IT01247470535 |
