
|
Do it yourself
| |||
| ||||



Things to Know When Considering Buying a Used Kia Picanto MK2
Model: Kia Picanto
TA, MK 2
- Years:
2011, 2012, 2013, 2014, 2015, 2016, 2017, 2018
Video tutorial
If you are considering buying a used Kia Picanto MK2, it is important to be aware of these issues: check if the vehicle has completed the recalls issued by the manufacturer (brake and fuel pipe); take it for a test drive on a rough road to listen for noises from the suspension or steering. To check the condition of the clutch, ensure that gear changes are smooth and without jerks. Lift the car and look for any oil traces under the engine. Cloudy headlights are quite visible. Remember that they emit very little light when turned on. Check inside the cabin that the air conditioning works at various speeds and that the vents adjust properly. The Picanto MK2 is a reliable vehicle, but it has had significant recalls that should be checked thoroughly.
Posted on 28 April 2026 by ScegliAuto
Related tutorials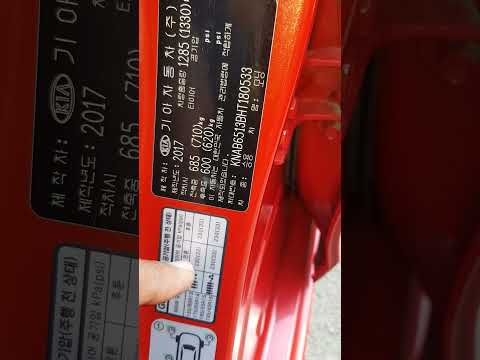
Kia Picanto
(2011-2018 /
TA, MK 2)
When you are inside your KIA Picanto and you turn on the ignition, if you see a steady yellow warning light with an exclamation mark (tyre pressure w…
Kia Picanto
(2011-2018 /
TA, MK 2)
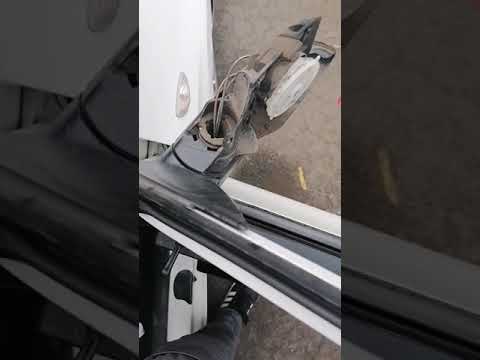
Before you start, open the front door of your Kia Picanto. Begin by unclipping and removing the internal cover near the wing mirror. Next, unscrew an…

Kia Picanto
(2011-2018 /
TA, MK 2)
If you are curious about where the OBD2 port is located on your Kia Picanto second generation (2011-2018), just pay attention to the description in t…
Other guides you may be interested in
|
How to Replace the Glow Plugs in the Fiat Ducato 2.3 Multijet?
Glow plugs, as the name suggests, raise the temperature of the engine in diesel vehicles to allow for easier starting. The manufacturer, in this case, Fiat for the Ducato 2.3 Multijet, specifies how often they should be replaced, and a warning light will illuminate when it's time. This work is carried out under the bonnet. First, remove the upper engine cover, then lift the coil and, using a socket wrench of the appropriate size, unscrew the glow plug to remove it from the base, followed by installing the new one. by ScegliAuto More videos
|
|
For advertising on this site Write to info@scegliauto.com
ScegliAuto is not responsible for any inaccuracy of the data in the lists. To report any inaccuracy or your business (if you own the business in question), please write to info@scegliauto.com
Number of seconds to generate the page: 0.081
(c) ScegliAuto 2026 - info@scegliauto.com - Privacy policy VAT number: IT01247470535 |
