
|
Do it yourself
| |||
| ||||


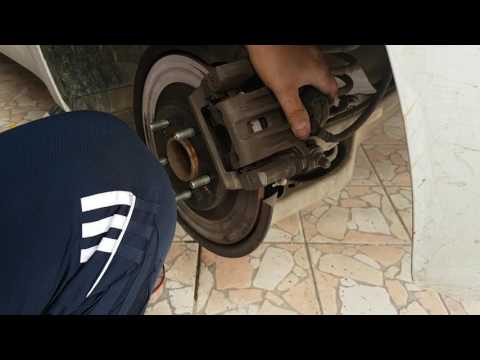
Kia Cee D - Video tutorial
Model: Kia Cee D
MK 1
- Years 2006-2012 In this short video tutorial we will show you how to go to replace the rear brake pads of a Kia Cee'd. First we have to go and jack up the car and disassemble the wheel by removing its bolts. At this point with a 14 mm wrench we go to unscrew the caliper bolts and pull it back by removing it. At this point we can go to remove the pads and insert the new ones (only of good quality). To reassemble the brake caliper we have to go and re-enter the caliper piston: to do this we go to apply pressure by hand; then reassemble everything.
Posted on 12 December 2023 by ScegliAuto
 How to replace the rear brakes on the Kia C'eed
Kia Cee D (2018-2024 / MK 3, CD) In this video, we see how to replace the rear brakes on the Kia C'eed with an electric handbrake. After removing the rear wheels, we remove the plug, 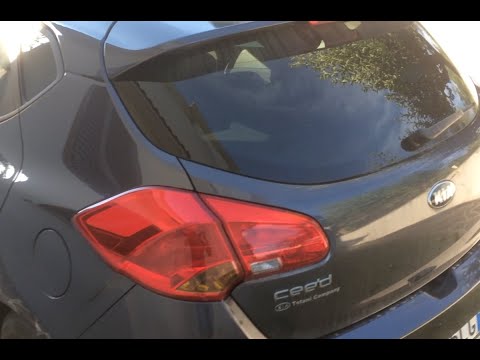 Replacement of the rear headlight bulb of the Kia Cee'd.
Kia Cee D (2012-2018 / JD, MK 2) If one of the rear lights of the Kia Cee'd is broken, it is necessary to replace it as soon as possible for our safety and to avoid penalties. To do 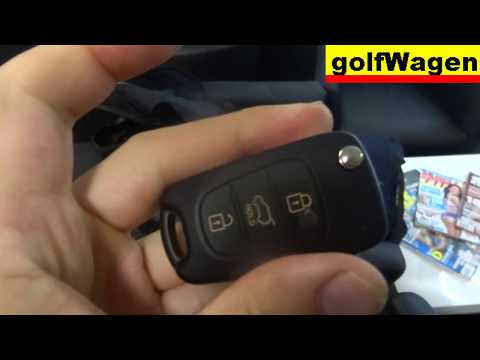 How to replace the key battery of a Kia Ceed
Kia Cee D (2006-2012 / MK 1) Let's start by pressing and holding the button located on the upper side of the electric key of our Kia Cee D, going to open the physical key. After Other guides that may interest you |
How do you replace the horn on the Citroà «n Berlingo?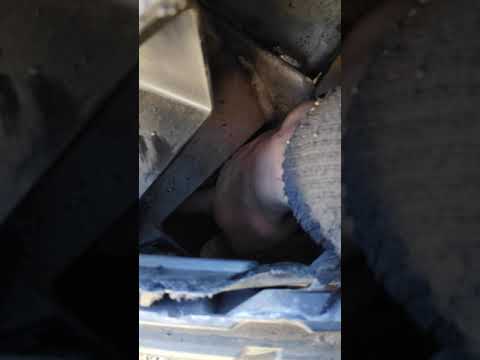
In order to replace the horn on the Citroà «n Berlingo, the vehicle must be raised so that the screws that secure the left front wheel can be loosened and removed completely. Once this wheel has been removed, it will be possible to access the screws that secure the internal cover of the corresponding wheel arch: this will have to be detached and it will be possible to access the components inside, including the horn. This will need to be disconnected from its connector and removed from its holders, so that it can be replaced with a new spare part. by ScegliAuto More videos
|
|
For advertising on this site Write to info@scegliauto.com
ScegliAuto is not responsible for any inaccuracy of the data in the lists. To report any inaccuracy or your business (if you own the business in question), please write to info@scegliauto.com
Number of seconds to generate the page: 0.037
(c) ScegliAuto 2024 - info@scegliauto.com - Privacy Policy VAT number: IT01247470535 |