
|
Do it yourself
| |||
| ||||


Replacing the Interior Light Bulb
Model: Kia Soul
MK 1
- Years 2008-2014
Replacing the interior light bulb is very simple but requires caution as you are dealing with snap-fit components. Start by prying with a suitable tool in the gap where the two transparent plastics meet. Depending on the angle you give the tool, you will lift one or the other of the two plastics. Carefully unclip one of the plastics and remove it. At this point, simply remove the bulb and replace it with an identical one. If you prefer a whiter light, you can replace the traditional bulb with an LED one. There are various types available, including coloured ones. The traditional-shaped LED bulb is not recommended as it does not emit much light, as you may have seen in the images. Always remember that the LED bulb must be inserted the right way round, so if it doesn't work, turn it 180 degrees. Now, simply reassemble the plastic by inserting the side with the two tabs first, followed by the part you unclipped first. Car model: KIA SOUL Year: 2010
Required tools: screwdriver or similar flat-blade tool.
Updated on 15 February 2026 by ScegliAuto
Video tutorial
Related tutorials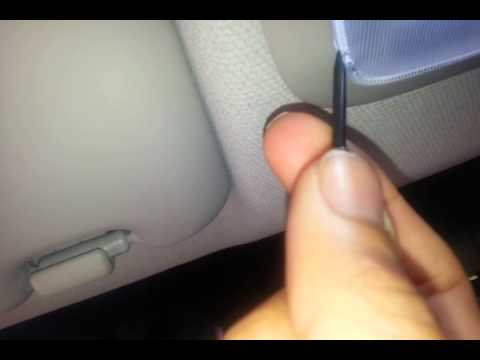
Kia Soul
(2008-2014 /
MK 1)
To replace the cabin light bulb, first detach the light unit by prising along the edges between the frame and the glass of the light unit itself (tak…
Kia Soul
(2008-2014 /
MK 1)
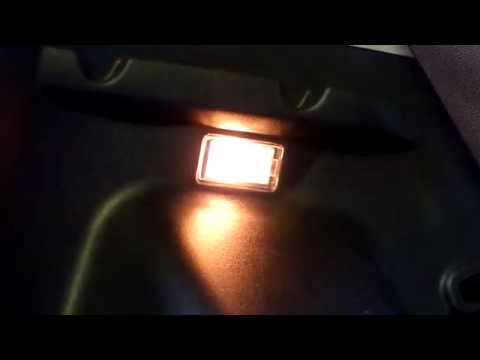
To replace the bulb in the boot, use a plastic lever to detach the translucent cover of the lamp holder and access the tubular type bulb: if the orig…

Kia Soul
(2019-2026 /
SK3)
In this guide, we will discover the instructions on how to remove and replace the front headlight bulb on a Kia Soul. First, move to the side and sta…
Other guides you may be interested in
|
How to reset the tyre pressure warning light on the Citroën DS4?
The tyre pressure warning light on the Citroën DS4 can be reset by inflating the tyres until they reach the corresponding pressure value, which is indicated on the sticker attached to the driver's door pillar. Once all tyres are at this value, turn on the ignition by inserting the key into the ignition switch; this should make the warning light disappear from the dashboard. If it does not reset, start the engine and drive to allow the sensors to read the new values. by ScegliAuto More videos
|

|
For advertising on this site Write to info@scegliauto.com
ScegliAuto is not responsible for any inaccuracy of the data in the lists. To report any inaccuracy or your business (if you own the business in question), please write to info@scegliauto.com
Number of seconds to generate the page: 0.062
(c) ScegliAuto 2026 - info@scegliauto.com - Privacy policy VAT number: IT01247470535 |
