
|
Do it yourself
| |||
| ||||


Lincoln Aviator Years 2003-2005 (MK 1)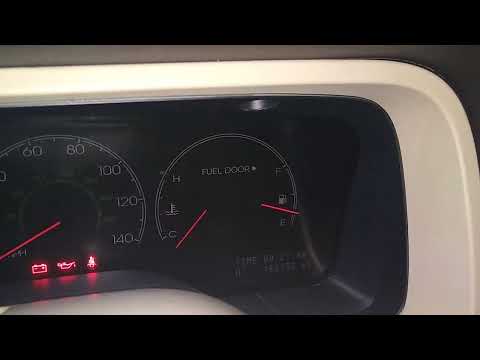 Lincoln Aviator (2003-2005 / MK 1)
How to reset the Lincoln Aviator Mk1 engine oil life percentage This guide shows how to reset the Lincoln Aviator Mk1 fuel life percentage. The first operation to carry out is to turn on the instrument panel and, with the …read all… Posted on 24 May 2023 by ScegliAuto 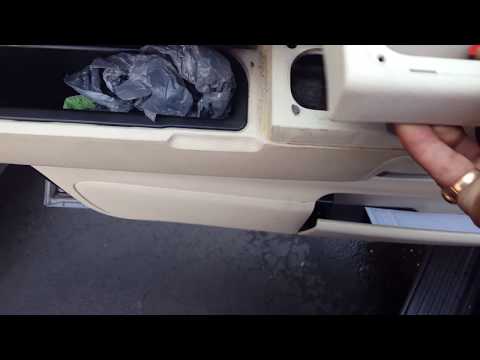 Lincoln Aviator (2003-2005 / MK 1)
Lincoln Aviator door panel removal In today's video we will see the steps on how to disassemble and replace the Lincoln Aviator front door panel, following the instructions below. First of all, …read all… Posted on 11 December 2022 by ScegliAuto 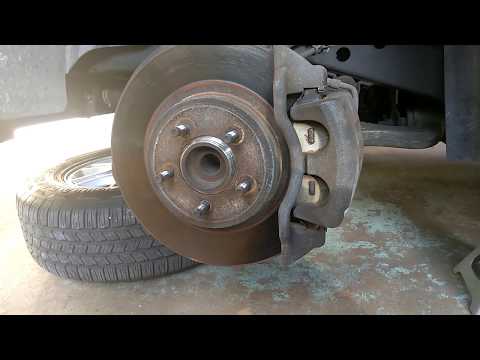 Lincoln Aviator (2003-2005 / MK 1)
How do you replace the Lincoln Aviator front brake pads? In order to replace the Lincoln Aviator front brake pads, you need to loosen the screws that secure the corresponding wheel, after it has been jacked up. Once …read all… Posted on 5 June 2022 by ScegliAuto  Lincoln Aviator (2003-2005 / MK 1)
How to disassemble the Lincoln Aviator car stereo Today we will see, in this video tutorial, how to disassemble the Lincoln Aviator stock car stereo, following the instructions below. First of all, let's get …read all… Posted on 1 June 2022 by ScegliAuto  Lincoln Aviator (2003-2005 / MK 1)
Where are the Lincoln Aviator's fuses? On the Lincoln Aviator we have the presence of two fuse boxes and, as in most cars, one is positioned inside the engine compartment while the other is inside …read all… Posted on 17 May 2022 by ScegliAuto  Lincoln Aviator (2003-2005 / MK 1)
How to replace the Lincoln Aviator car stereo In today's video we will see the steps necessary to disassemble and replace the Lincoln Aviator car stereo. First we get in the car and start by removing our …read all… Posted on 24 April 2024 by ScegliAuto |
See also:
Handbrake adjustment on Ford Ecosport
First remove the plastic profile at the base of the gear lever. To do this, slightly widen the side edges and carefully lift it to release it. There is no need to remove it completely, just move it forward to avoid bother. Now remove the plastic center console around the handbrake by first working from the rear to release it and lifting it until the brake lever passes. Also in this case it is not necessary to remove it completely but, paying attention to the connected cables, it can be stowed in front of the passenger seat. At this point we notice that at the base of the handbrake lever, on the front, we find a nut. By acting on it, with a 10 wrench, we can adjust the brake force, increasing it by turning the nut clockwise, or decreasing it by turning it counterclockwise. Once adjusted, the center console can be repositioned first, pressing lightly to engage it, and then the profile of the gearbox base. by ScegliAuto More videos
|
|
For advertising on this site Write to info@scegliauto.com
ScegliAuto is not responsible for any inaccuracy of the data in the lists. To report any inaccuracy or your business (if you own the business in question), please write to info@scegliauto.com
Number of seconds to generate the page: 0.010
(c) ScegliAuto 2024 - info@scegliauto.com - Privacy Policy VAT number: IT01247470535 |