
|
Do it yourself
| |||
| ||||


|
Model: Malaguti Madison 125
Guide for replacing the coolant temperature sensor on a Malaguti Madison 3 125 from 2006 to 2009. Obtain a Malaguti coolant temperature sensor, part number 45601700. Lift the seat and unscrew the fuel filler cap. Using a star screwdriver, unscrew the retaining screws of the glove compartment. You will now have a complete view of the engine compartment. The temperature sensor is located on the engine, in front of the carburettor, under the plate with the vehicle data label. Disconnect the electrical connector (female faston covered by a rubber cap) and perform an electrical system function test. Move the rubber cap to expose the faston, turn the ignition switch on, and the temperature gauge should be at 0. With the ignition still on, make contact with the faston to ground (any metal part of the scooter). If the temperature indicator rises to maximum, the electrical system is functioning correctly. Turn off the ignition. Using a ratchet with an extension and a 17mm socket, replace the temperature sensor.
Updated on 9 March 2026 by ScegliAuto
Video tutorial
Related tutorials
Madison 125
You can replace the exhaust on the Malaguti Madison 125 by loosening the screws that secure the exhaust terminal to its housing, near the rear wheel …

Madison 125
To install a 12V socket on the Malaguti Madison 125, connect the piece to the appropriate wires, as shown in the video. Next, loosen the screws secur…

Madison 125
In this video tutorial, we will see how to disassemble and replace the rollers of the variator on a Malaguti Madison 125. First, remove the screws fr…
|
How to Replace the Clutch on a Triumph Speed Triple?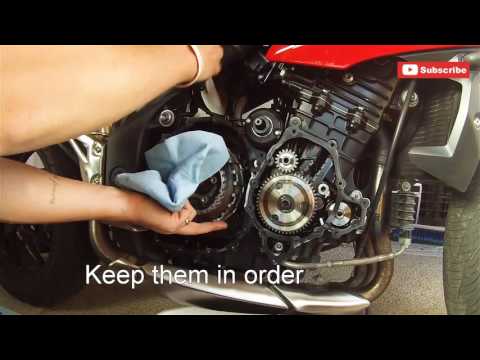
To replace the clutch on a Triumph Speed Triple, loosen the bolts securing the covers of the three casings located on the right side of the bike, namely the starter motor, the engine, and then the clutch. Once these covers are removed, you can access the bolts securing the clutch, unscrew them, and slide the clutch plates out of their housing. This will allow you to insert the new plates into their place, securing everything with the appropriate bolts; finally, reinstall all the casings. by ScegliAuto More videos
|
|
For advertising on this site Write to info@scegliauto.com
ScegliAuto is not responsible for any inaccuracy of the data in the lists. To report any inaccuracy or your business (if you own the business in question), please write to info@scegliauto.com
Number of seconds to generate the page: 0.007
(c) ScegliAuto 2026 - info@scegliauto.com - Privacy policy VAT number: IT01247470535 |
